Physical Address
304 North Cardinal St.
Dorchester Center, MA 02124
Physical Address
304 North Cardinal St.
Dorchester Center, MA 02124


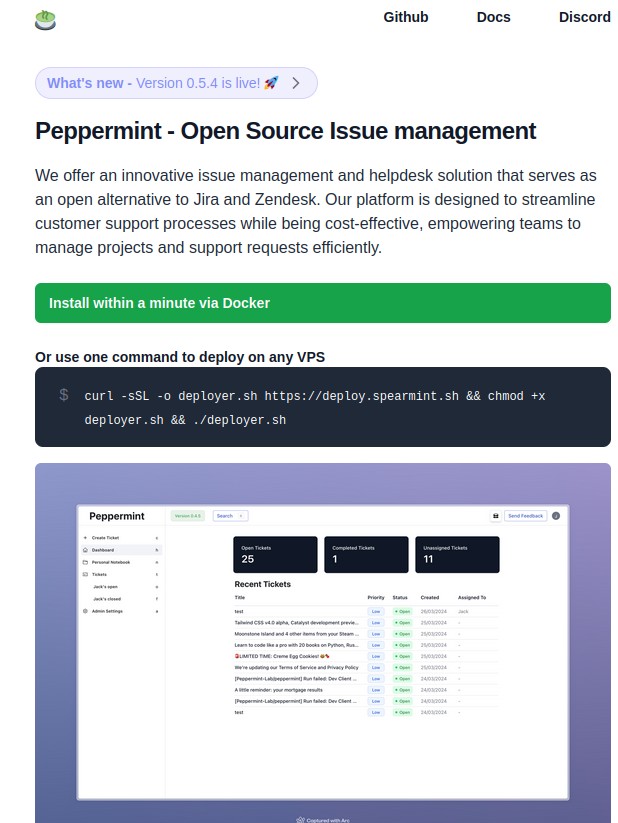
If you followed along with our last article, you should now have Peppermint successfully installed. For those just joining us, Peppermint is an open-source management and helpdesk solution. It’s a great alternative to platforms like Jira, Zendes, OSticket, and an excellet tool for gaining hands-on experience with a ticketing system. Peperming is very beginner-friendly, making it easy to install and start using right away.
In this article, we’ll cover the basics of Peppermint, including:
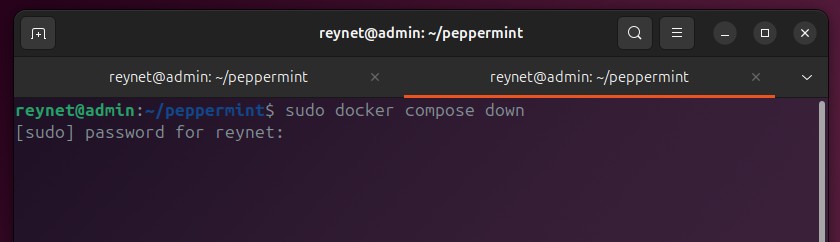
Before you open your browser and head over to the Peppermint site, you first have to start Docker Compose back up. To that, launch the terminal
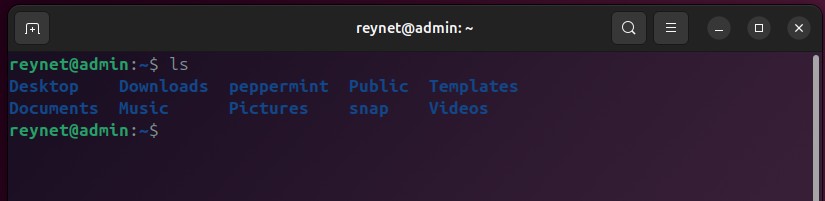
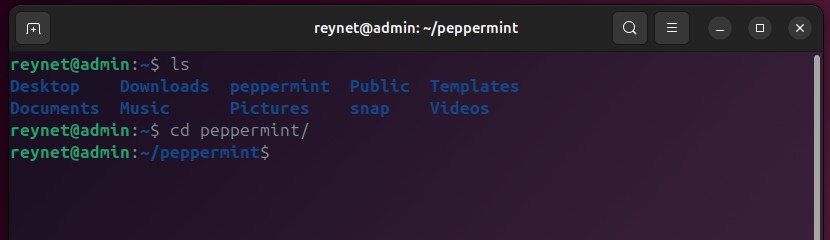
Let’s verify that our peppermint folder is still within our home directory. To this, type the command: ls
This will list all the folders in the home directory
Having verified the folder is there, we have to navigate to the peppermint folder by using the command: cd peppermint/
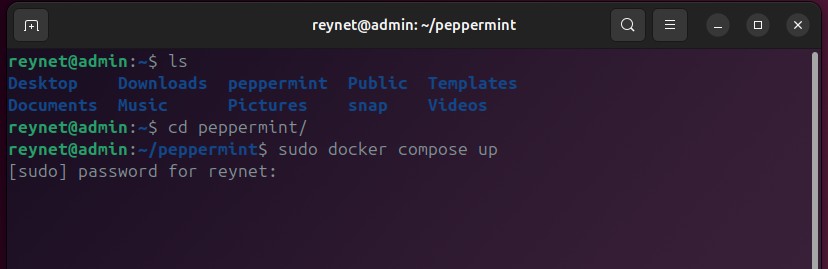
Now we can start up Docker compose by using the command: sudo docker compose up
You will most likely be prompted to enter your password

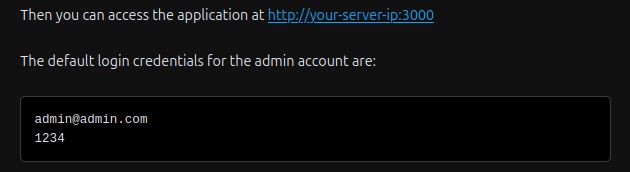
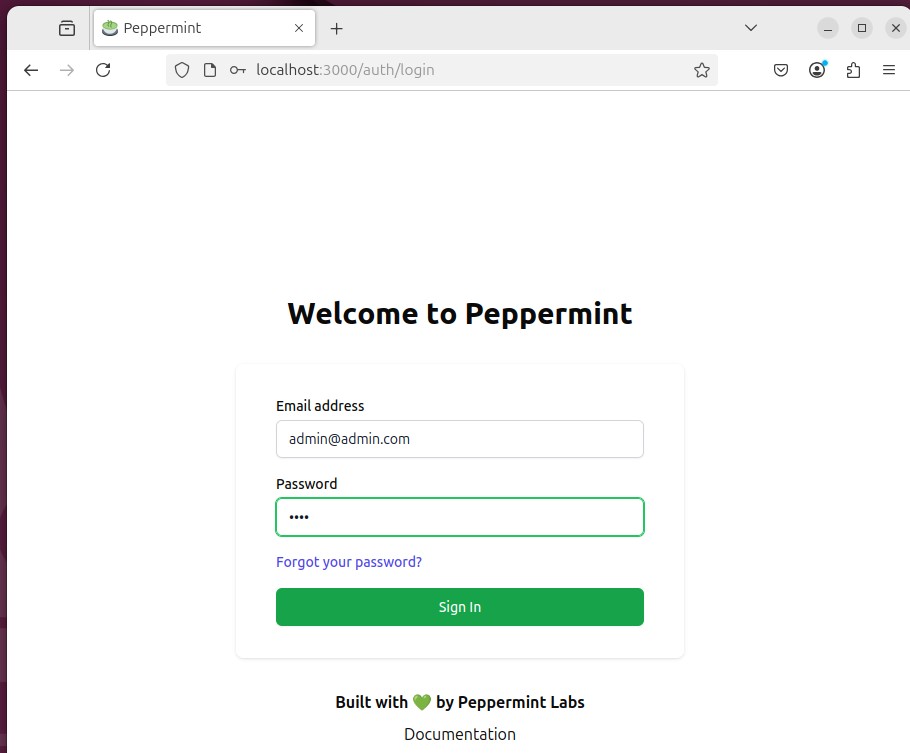
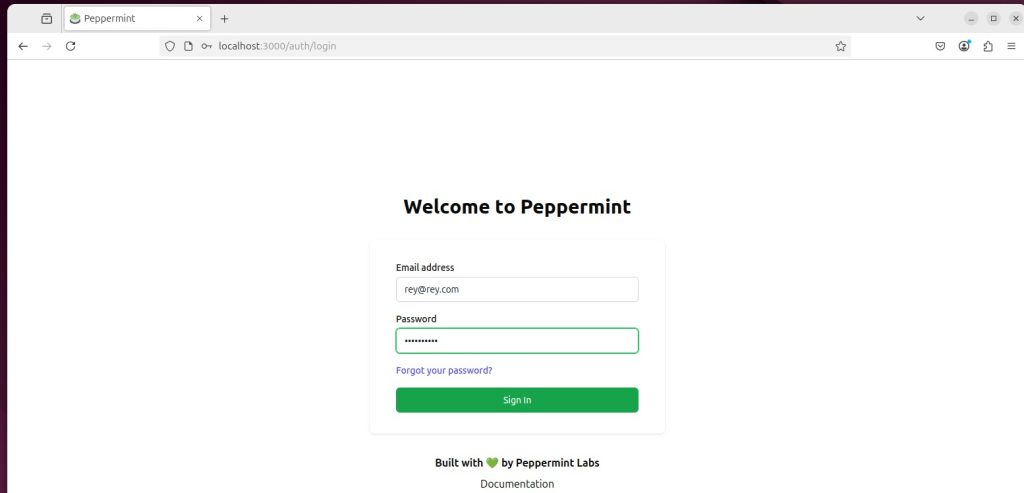
Now that Docker compose is up and running, we can head over to our browser and login to our application via: https://localhost:3000 and use the default login credentials for the admin account:
Email address: admin@admin.com
Password: 1234
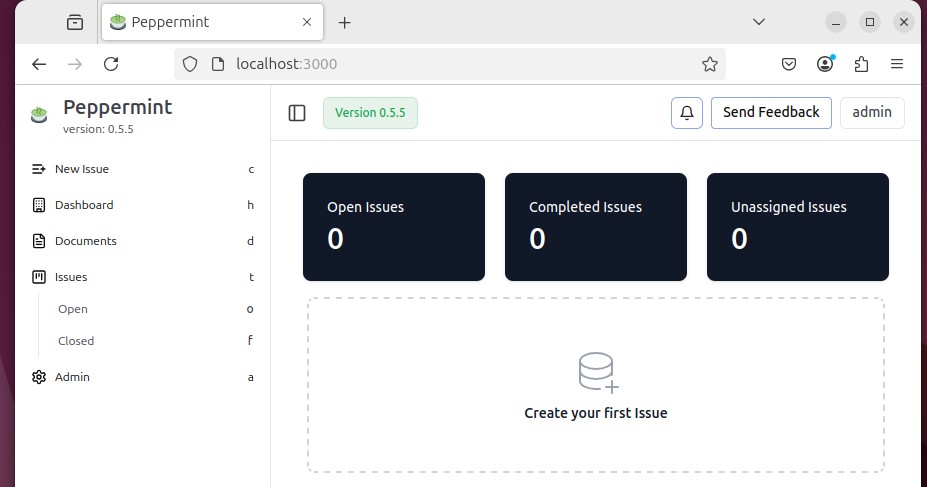
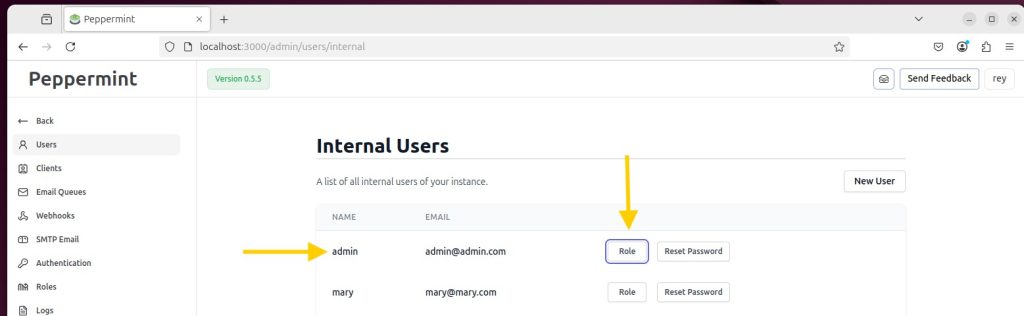
The first thing we want to do, now that we’re back in Peppermint, is to create our own administrator (admin). It can be whatever user you want and with whatever password you want. The main thing we want to ensure we do, is give this new user admin privelages.
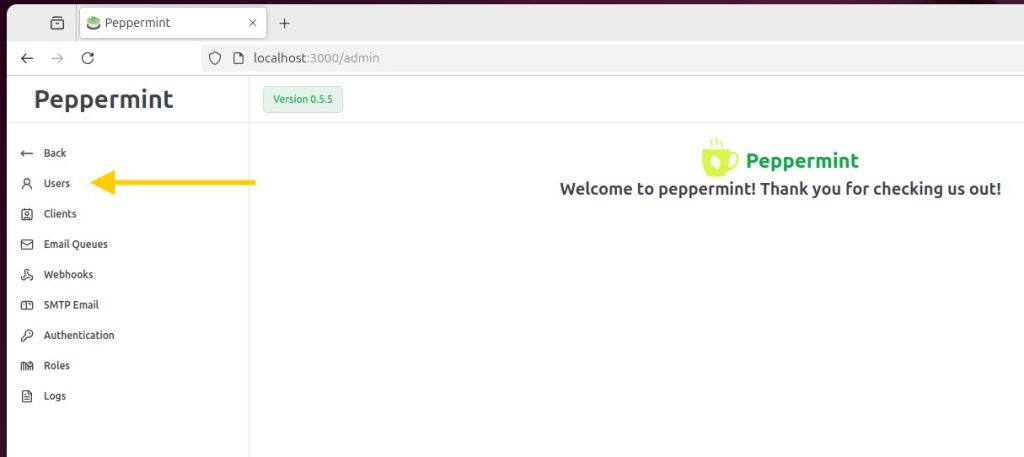
From the home page, click on the Admin link next to the settings icon
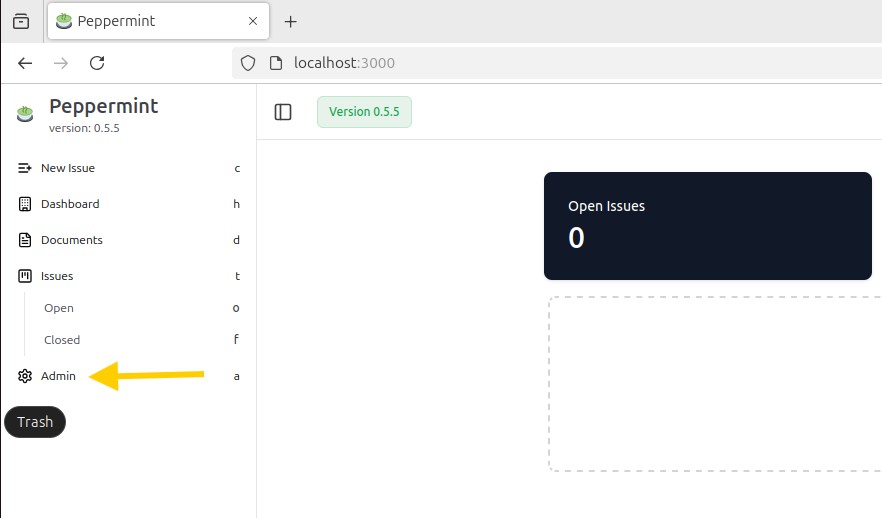
Next, click on: Users
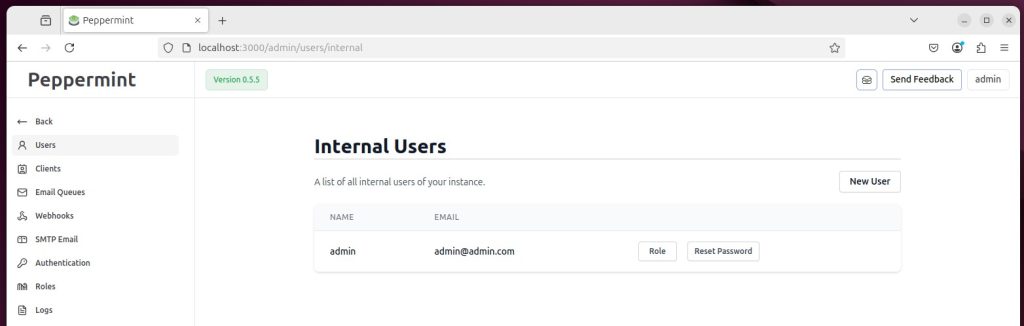
Click on: New User

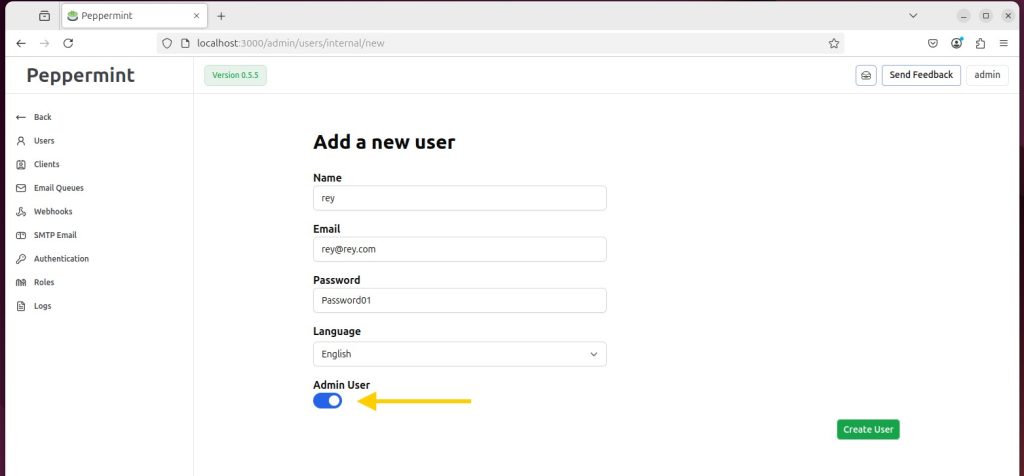
Now, you will fill out your new user’s information. For email, just do firstname@firstname.com. Please ensure that you enable Admin User
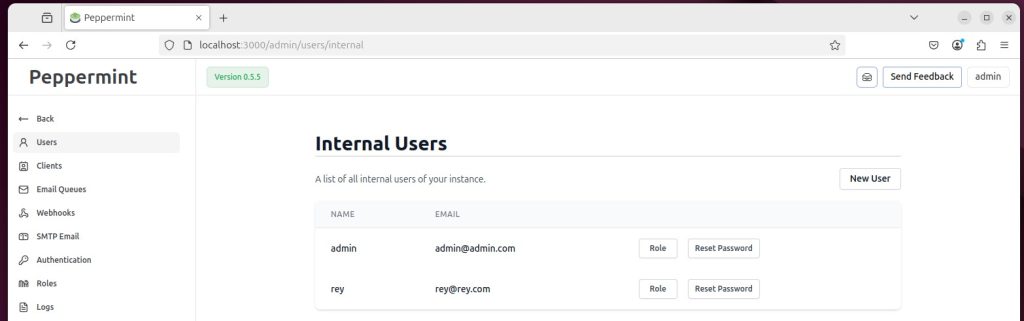
While we’re logged on as an admin user, let’s create a few more users. I wouldn’t recommend having more than 2 users with admin privelages.
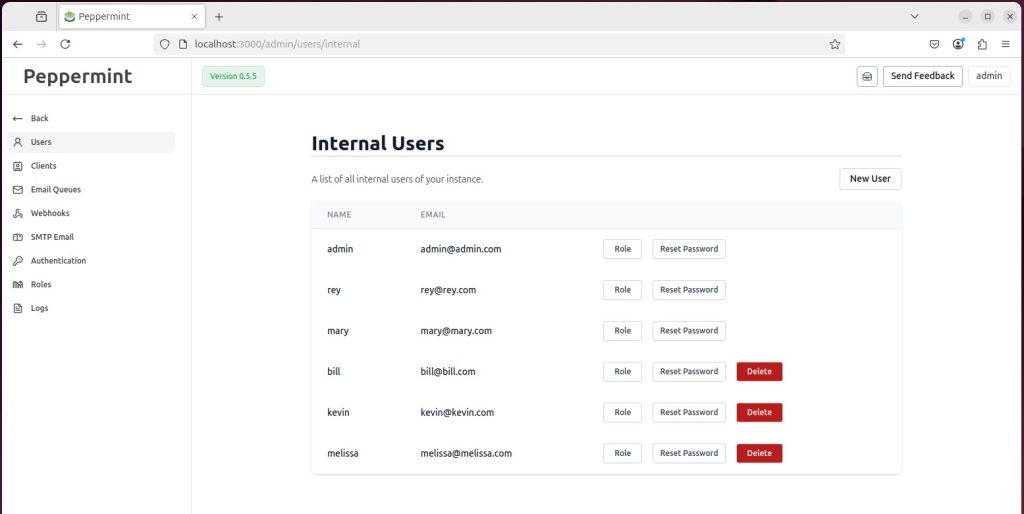
For me, the only users that are considered admin are: admin, rey, and mary.
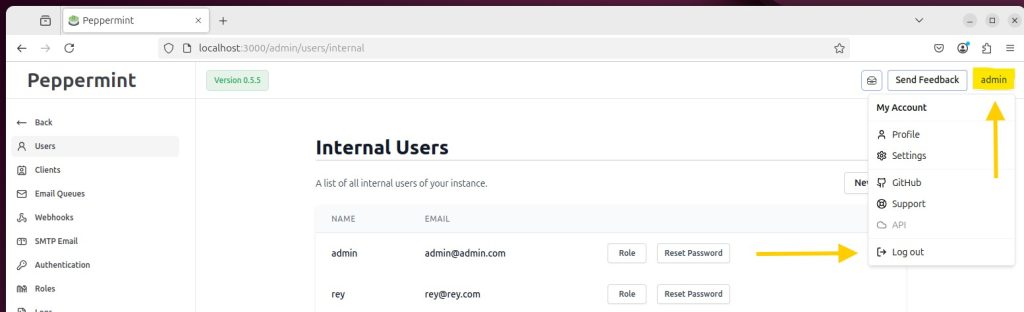
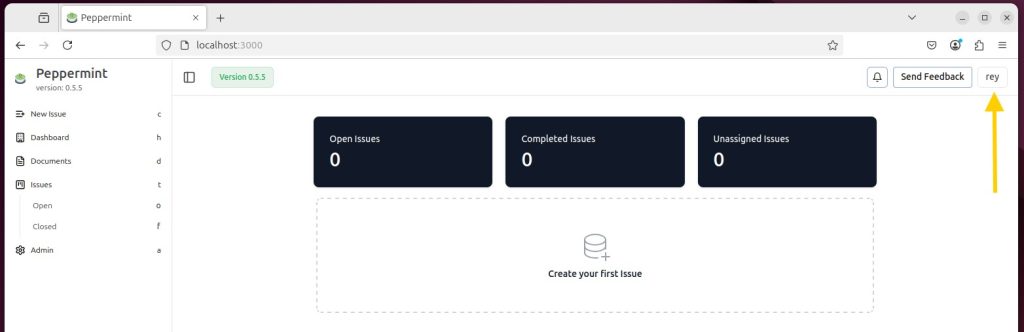
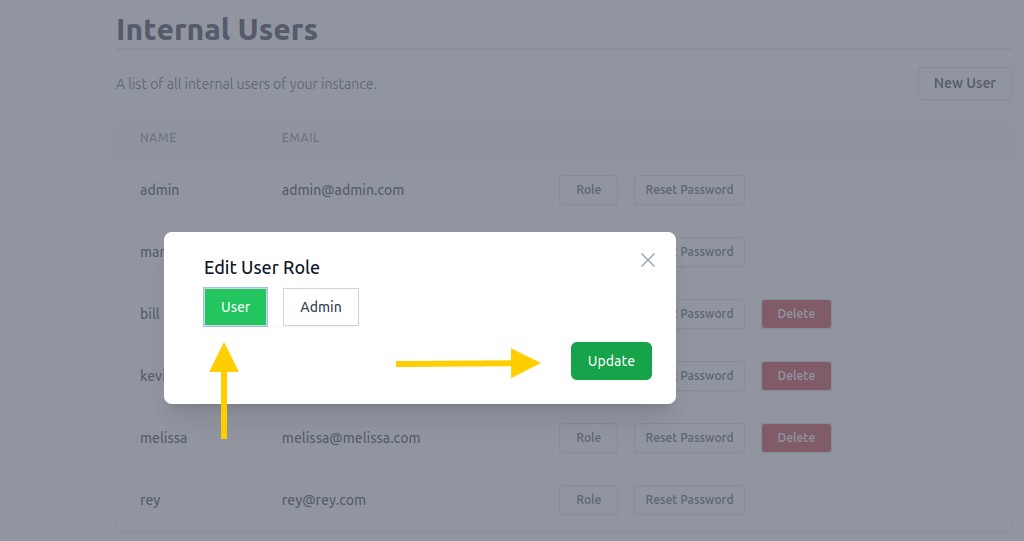
As a proof of concept, let’s log out, and log back in as our new admin.
We have now created our own set of users along with a couple having admin privelages. If you really want to focus on safety, you can downgrade the basic admin account and remove it’s admin privelages (I recommend you do this). You can also choose to reset its password.

We have taken some very important steps in managing our Peppermint server:
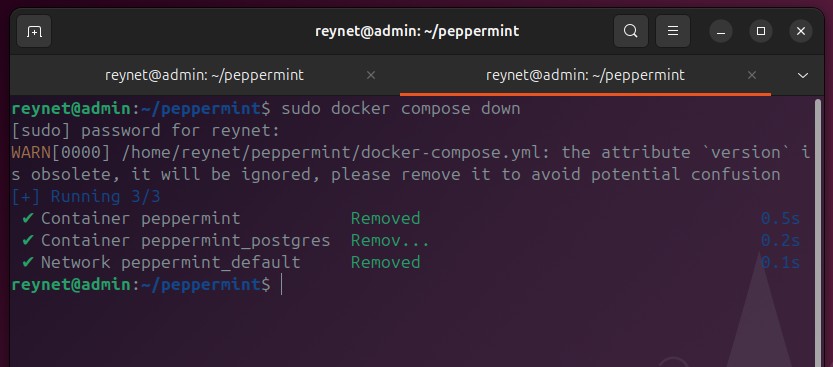
Also, get in the habbit of always logging out of peppermint and turning Docker compose off.
In my next article, we will begin creating and managing tickets. We will learn the basics of creating a ticket, assigning it to a user, and closing it out. Stick around and let’s learn together!