Physical Address
304 North Cardinal St.
Dorchester Center, MA 02124
Physical Address
304 North Cardinal St.
Dorchester Center, MA 02124

One of the biggest challenges for anyone breaking into IT is the classic Catch-22: employers want you to have experience, but you need someone to give you a chance to gain it. It’s frustrating, and for many, discouraging. But here’s the truth—you don’t have to wait for those opportunities to start building that experience. You can do it yourself, right now, with free tools and a willingness to learn.
That’s where labs like this come in. In this article, I’ll be walking you through how to install Peppermint, an open-source help desk and issue management platform, on a free Ubuntu VM. Not only is this great hands-on practice with Linux and Docker, but it also gives you real-world exposure to software that’s used in actual IT environments. This isn’t just busy work—it’s experience you can talk about in interviews, put on your resume, or even use in your own freelance or home lab projects.
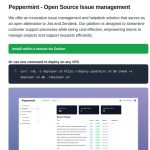
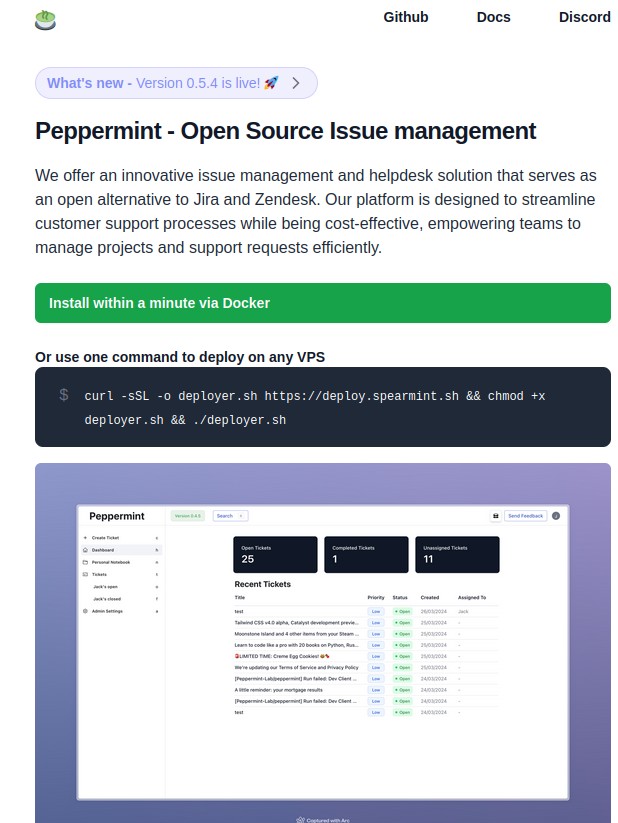
Peppermint is a lightweight, open-source help desk and issue management system designed to simplify ticket tracking and internal support. Built with modern web technologies, it offers an easy-to-use interface where users can submit support requests, and IT teams or administrators can manage, assign, and resolve tickets efficiently. Because it’s self-hosted, Peppermint gives you full control over your data and configuration, making it a great option for small businesses, IT students, home lab enthusiasts, or anyone looking to gain hands-on experience with support workflows in a real-world setting.
Docker is a platform that allows you to run applications in isolated environments called containers. Think of containers as lightweight, portable virtual machines, but faster and easier to manage. Instead of installing software directly on your operating system (and dealing with all the dependency headaches), Docker packages everything an app needs (code, libraries, and settings) into one neat container. This makes it ideal for labs, testing, and deploying apps like Peppermint, because you can get up and running with just a couple of commands. Plus, Docker is widely used in modern IT and DevOps environments, so getting comfortable with it is a smart move if you’re looking to break into tech.
In this blog, I won’t demonstrate how to install Ubuntu. Instead, I will provide two links. The first link is to my blog on virtualization. In this blog, I demonstrate how to install a Windows VM. You can follow the same steps (you can scroll to Step 14):
If you prefer a video, I’m linking a great Ubuntu installation video by TopNotch Programmer (give him a follow):
Once you’ve successfully installed Ubuntu, launch the terminal and keep it open. I recommend pinning it to the Dashboard.
Within your Ubuntu VM, launch your browser (I’ll be using Firefox) and head to: https://docs.docker.com/engine/install/ubuntu/
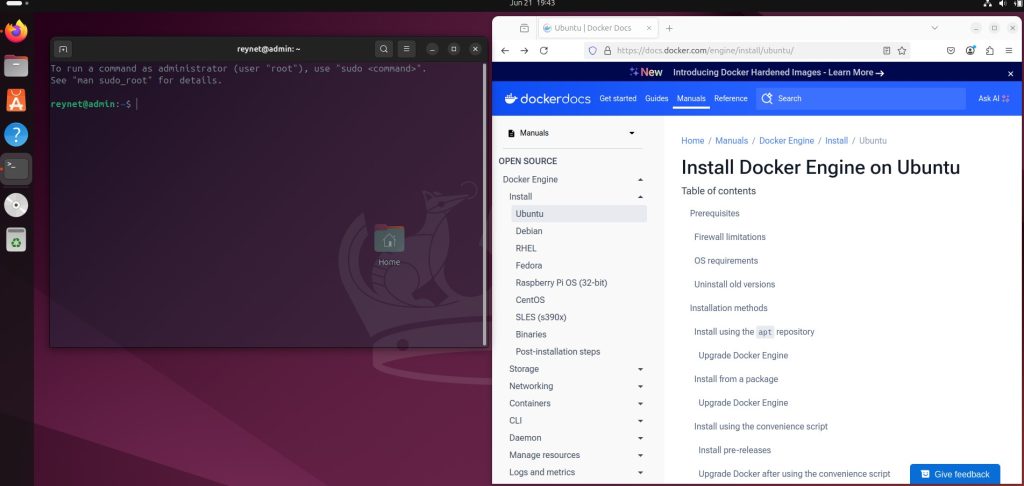
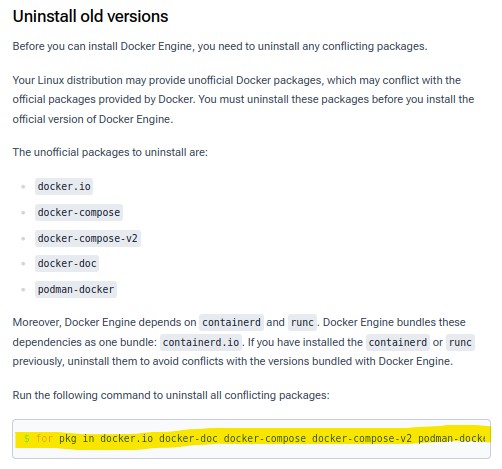
We first need to uninstall any old versions of Docker that we may have in our VM. From the Docker website, scroll down until you see the section: Uninstall old versions
You will see a line of text for a command that you can copy and paste in the terminal to uninstall old Docker packages. If this is a fresh install of Ubuntu, you don’t necessarily need to run this section, but better to be safe than sorry.
You can select the copy icon and it will automatically copy the whole command to your clipboard
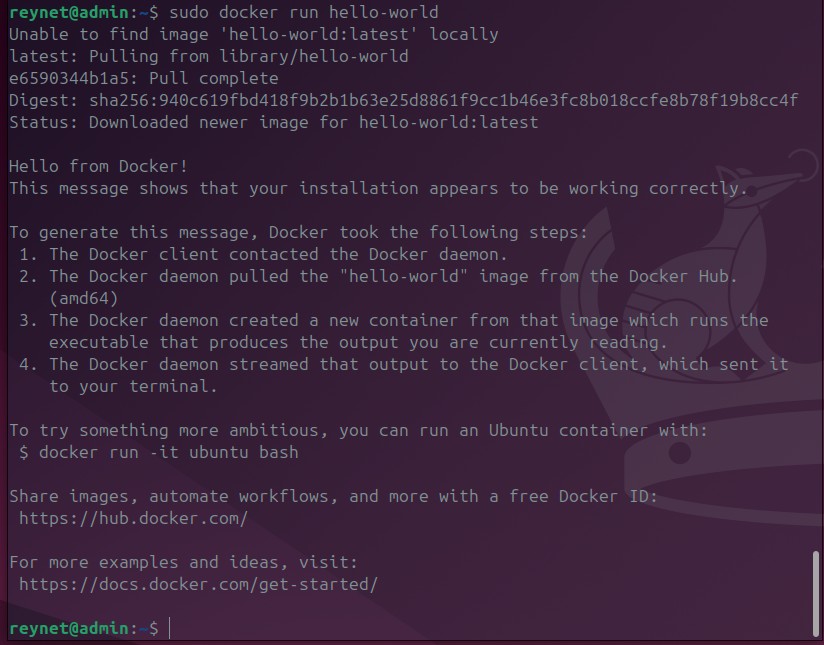
Once you’ve copied the command, you can right-click in the terminal and select paste to place the command or you can use the keyboard shortcut: ctrl+shift+v. Press enter. You will be prompted for your password:
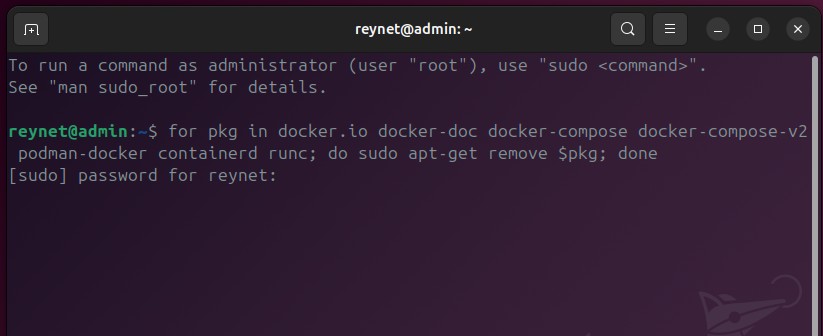
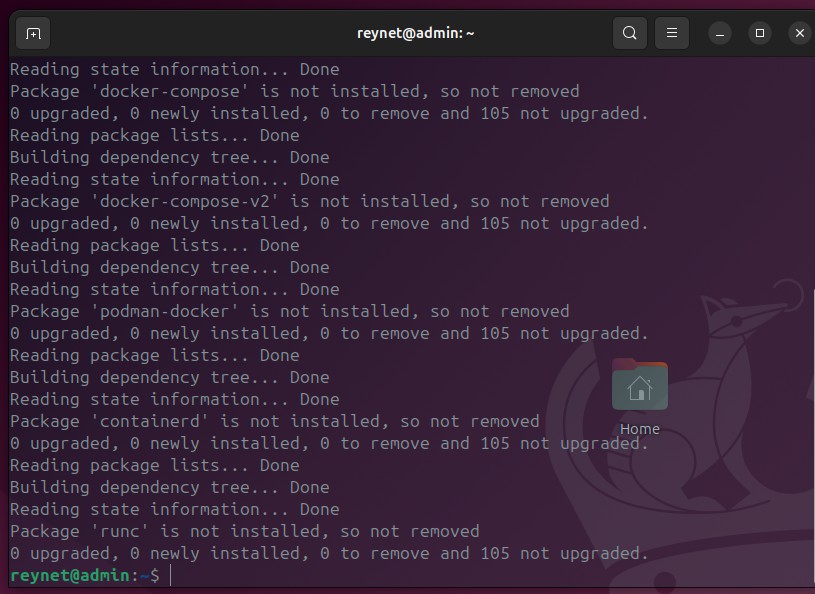
You will see a lot of text flying through the terminal. That’s just the command doing what it’s suppose to do. You know the command is done running once you see the command prompt (the text in green) reappear:
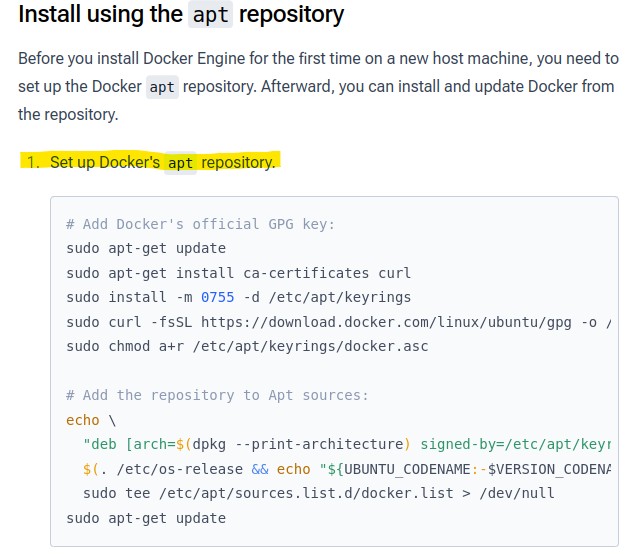
Next, we need to install Docker’s official GPG key. This will ensure that the packages we install from Docker’s repository are signed and verified.
Back in Firefox, scroll down until you see: Install using the apt repository
And just as earlier, you can copy the command in Step 1:
And then paste it in the terminal, press Enter, and input your password:
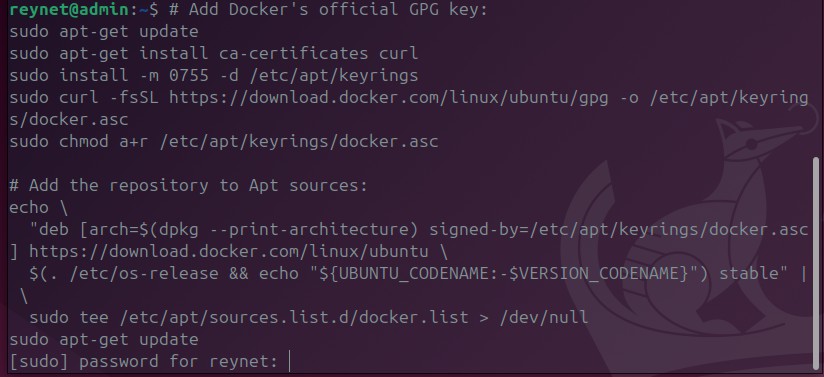
When you get the prompt asking if you want to continue, enter Y and press enter:


Next, we will copy and paste the latest Docker package:
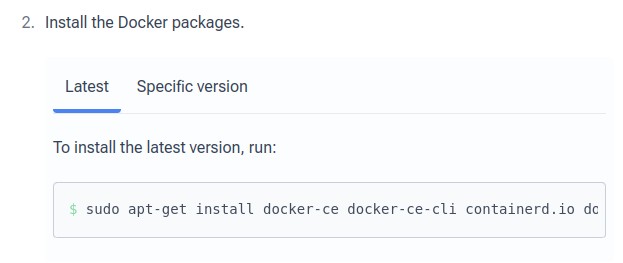

Just as we’ve been doing, we’re going to copy the command, paste it in the terminal, and press Enter:

There is a command we can use to clear our terminal screen and start at the top. Just enter: clear

Press Enter
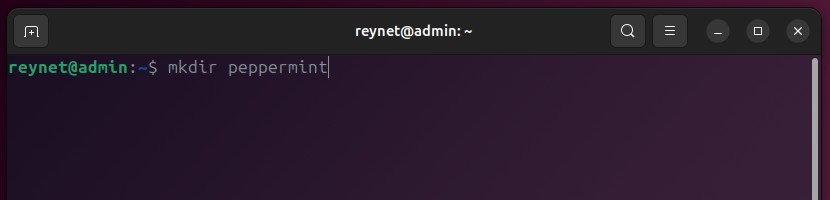
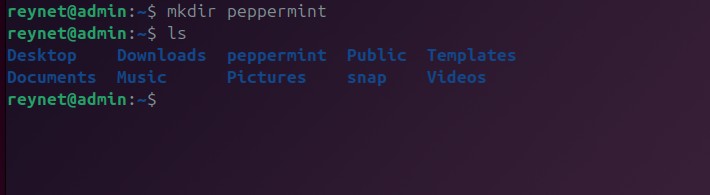
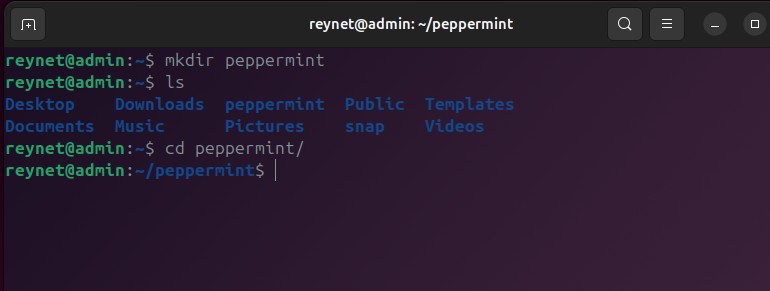
Now that we have a fresh terminal, we are going to type the following command: mkdir peppermint
We just created a folder called ‘peppermint’ within our home directory. In order to view the folder, type: ls (that is a lower case letter L)
Once we create this folder, we switch our command prompt to that location by using the command: cd peppermint/
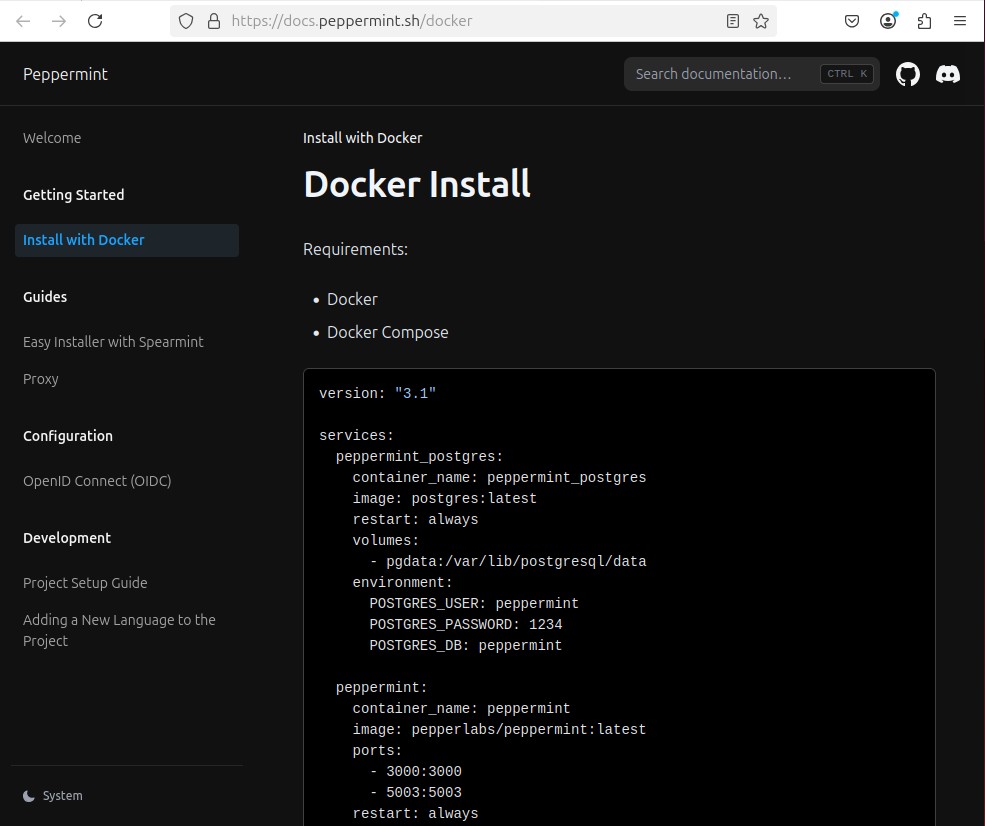
We just finished creating the directory peppermint and we have changed our command prompt to the peppermint directory. Now, we will start the peppermint installation. First, navigate to: https://docs.peppermint.sh/docker
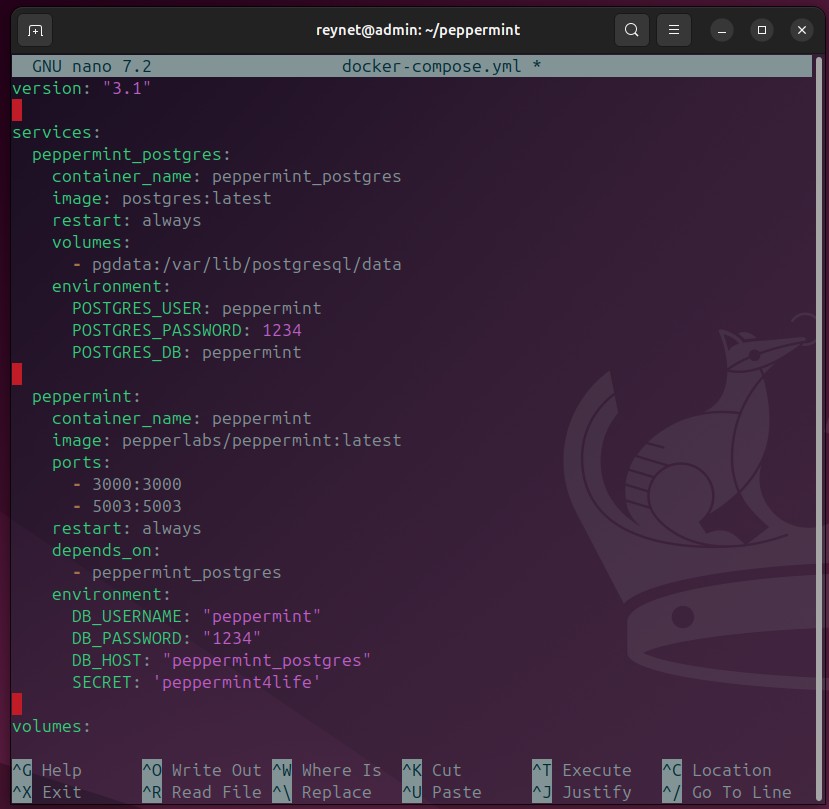
Back in the terminal, type the following: nano docker-compose.yml
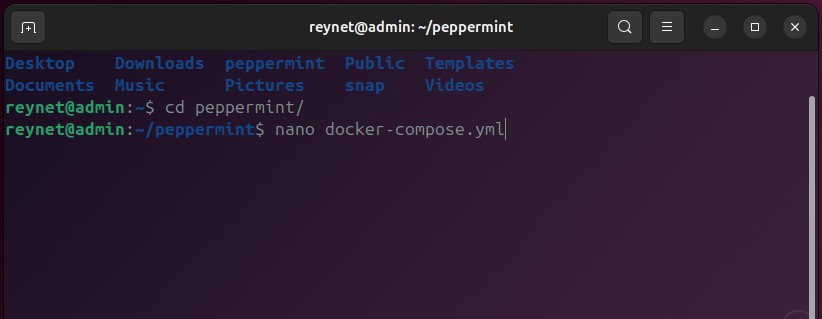
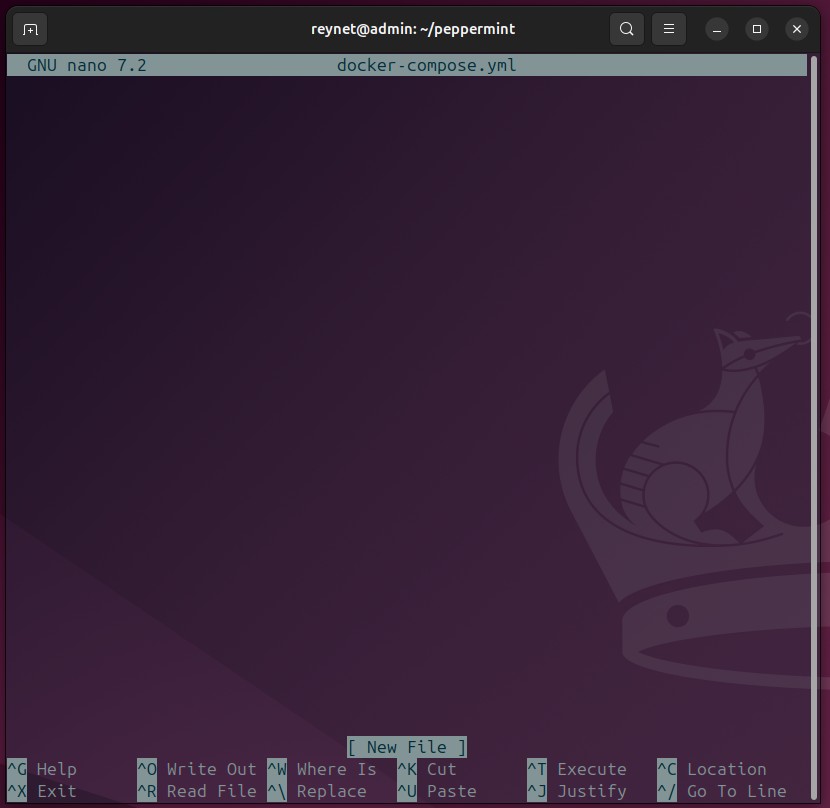
Okay, don’t freak-out. Nano is a command-line text editor. This will allow us to create (copy and paste in this case) and run a script.
Next, we will copy the command in the peppermint.sh website. You may have to highlight the text with your pointer and then either use the keyboard shortcut ctrl+c or right-click the text and select copy.
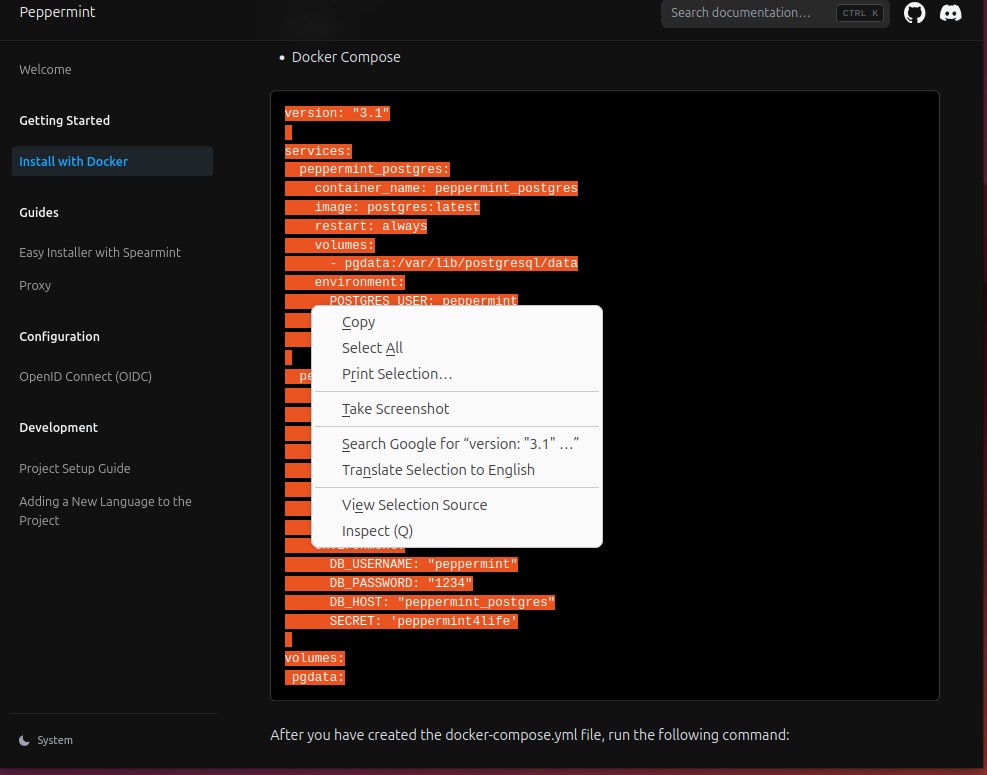
Navigate back to the terminal. You should still have the Nano text editor open. We will paste the command in here using the keyboard shortcut ctrl+shift+v
Once you paste the command in Nano, using the arrow keys, navigate to the end of the SECRET line. Press enter and press the space bar until your cursor is right under the word SECRET. We are going to add the following line: API_URL: “http://localhost:5003”
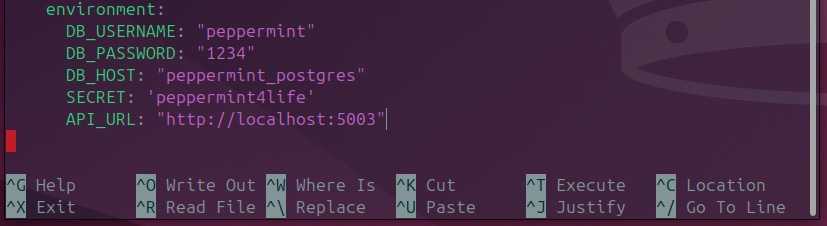
When you have entered that line, we will save and exit by first pressing ctrl+o
You will see a prompt at the bottom asking for a Name to write out to. You should have docker-compose.yml
Press enter

After you press enter, press ctrl+x to exit
In the terminal, make sure you’re still in the peppermint directory: reynet@admin:~/peppermint$
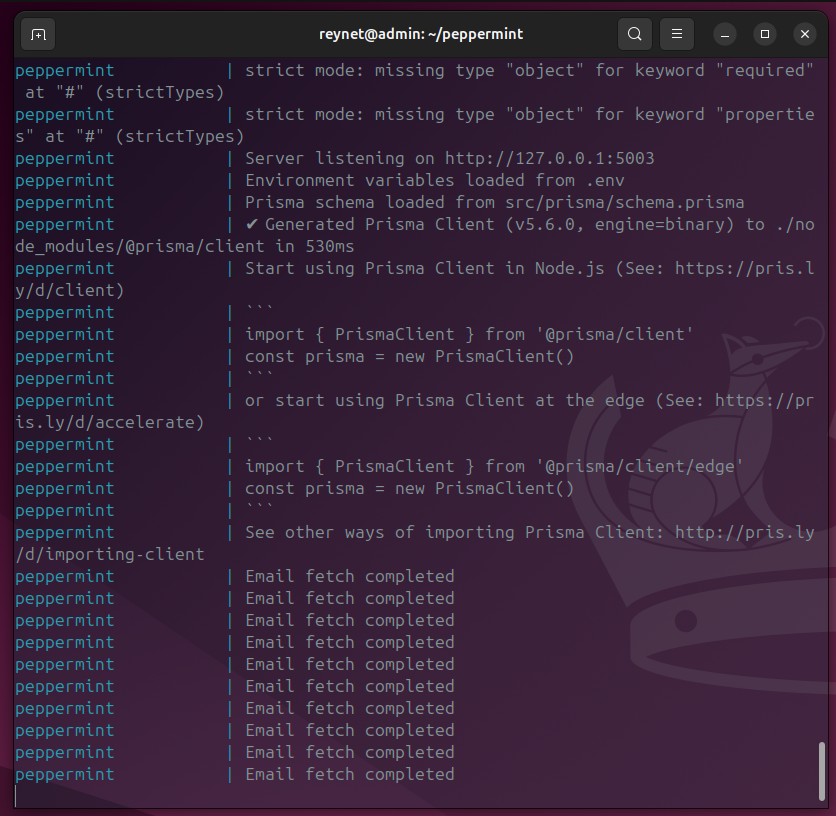
You will enter the following command: sudo docker compose up

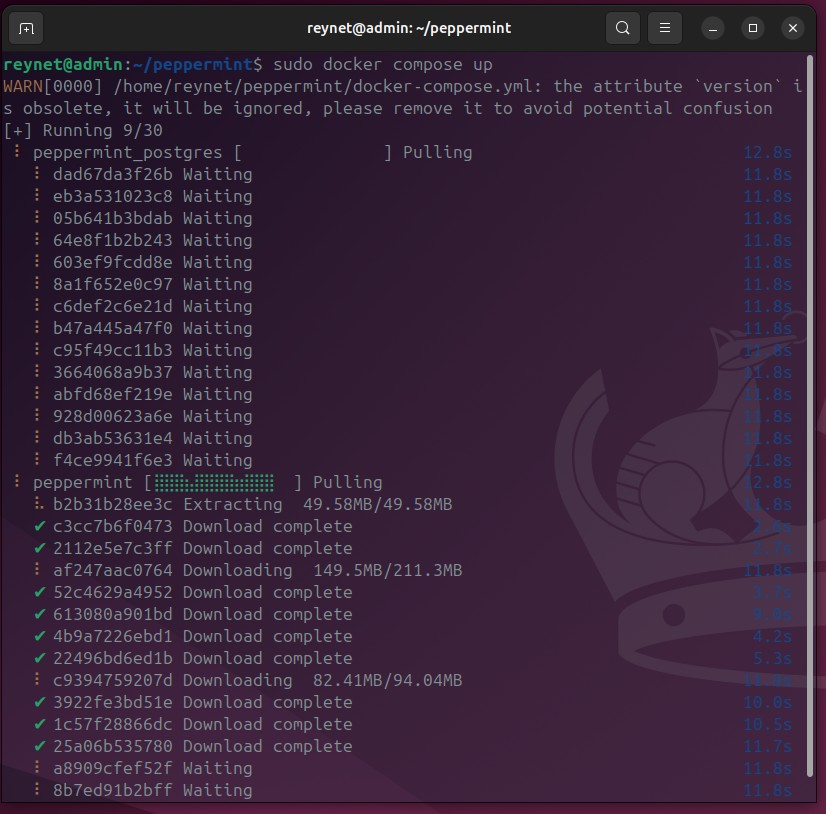
The first time you spin up Docker compose, it will take a couple of minutes. Everytime thereafter will only take a few seconds.
Once you start seeing the ‘Email fetch completed’ messages, you’re good to go
From your browser, navigate to: http://localhost:3000
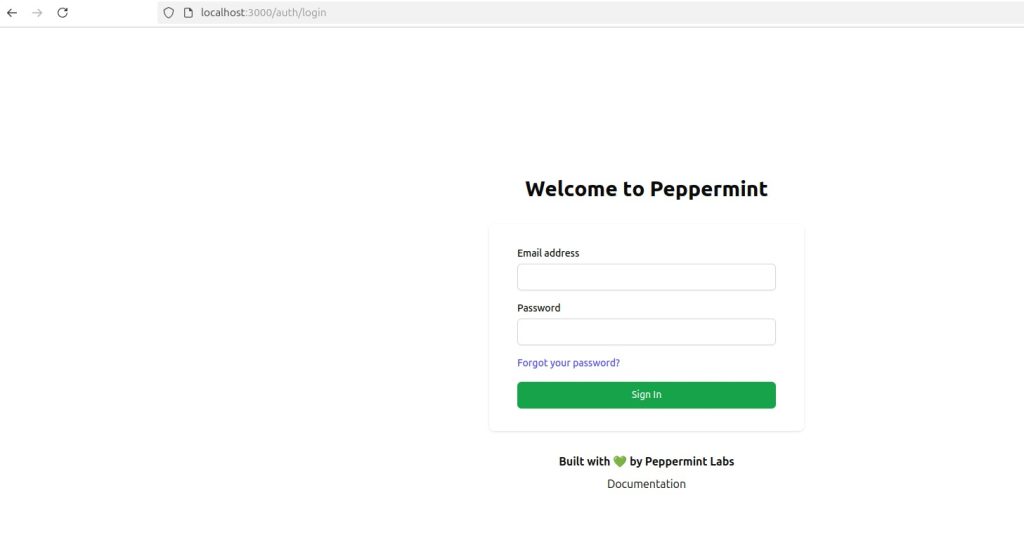
The default login credentials are:

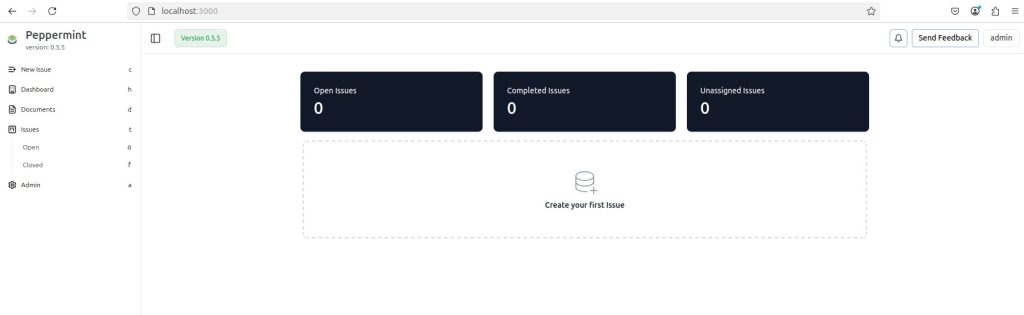
And just like that, we now have our own issue management and helpdesk solution to train with. In the comming articles, we will continue to work with peppermint. We will create users, tickets, and resolve these tickets.
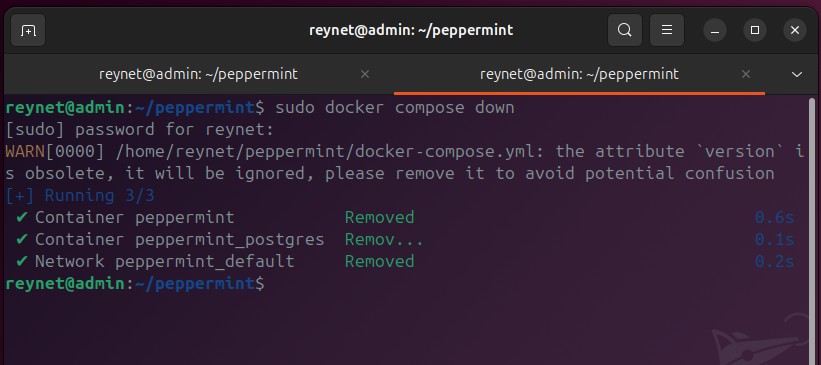
In order to close out Docker Compose, the command to use will be: sudo docker compose down