Physical Address
304 North Cardinal St.
Dorchester Center, MA 02124
Physical Address
304 North Cardinal St.
Dorchester Center, MA 02124

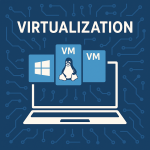
So, you’re trying to break into the field of Information Technology. Problem is, you don’t have the necessary “experience” in IT to land that first job? And maybe, you don’t have the money or space to build a full-blown lab with racks of equipment. Don’t worry-you’re not alone, and you’re not out of options. Let me introduce you to virtualization. With just your everyday computer and the right software, you can spin up entire networks, practice your skills, and gain hands-on experience without spending a fortune. One of the best tools to get started: Oracle’s VirtualBox
For this section, I will explain a few basic concepts that you need to know in order to fully understand and grasp the concept of virtualization and how we will use it to build a virtual home-lab environment. Don’t worry, I won’t get too technical by throwing industry-level jargon at you. I’ll try and keep it in layman’s terms as much as possible.
What is virtualization:
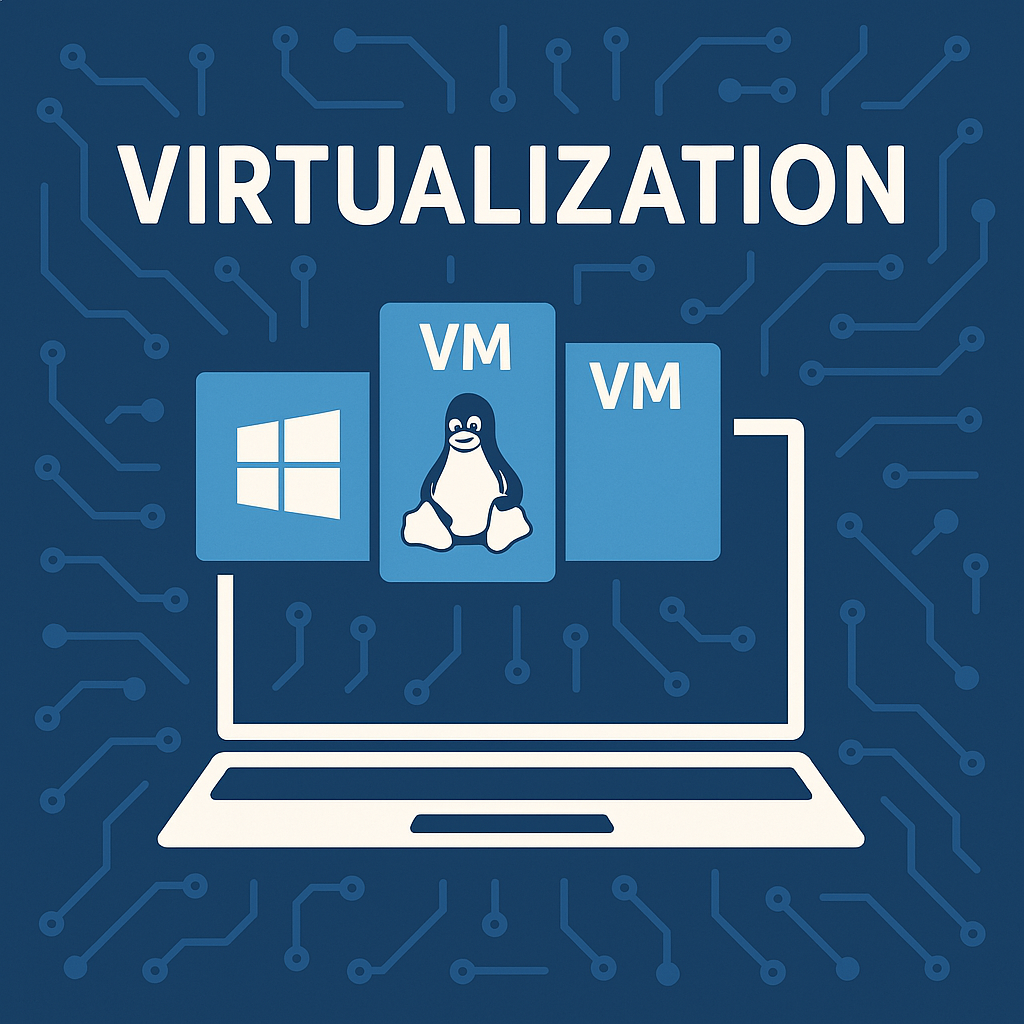
From here on out, when we refer to your physical machine (laptop or desktop), we will refer to it as: host machine. Virtualization is the process of creating a virtual version of something, usually a computer system, inside your existing machine. Instead of buying a bunch of physical computers, virtualization lets you run multiple “virtual machines” (VMs) on one computer. Each VM acts like its own computer with its own operating system (OS), files, and network settings. It’s like having an entire lab of systems inside your laptop or desktop. Perfect for testing, learning, and experimenting without messing up your main setup. Think of the movie Inception. Instead of a dream inside of a dream, it’s a computer inside a computer.
One of the really cool things about virtualization is, regardless of what OS your host machine is running (Mac OS, Windows, Linux), you can install whatever other OS you want. So, if your laptop is running Windows (like I am), you can install a Linux-based OS VM. For starters, we will start with a Windows machine.
Hypervisor:
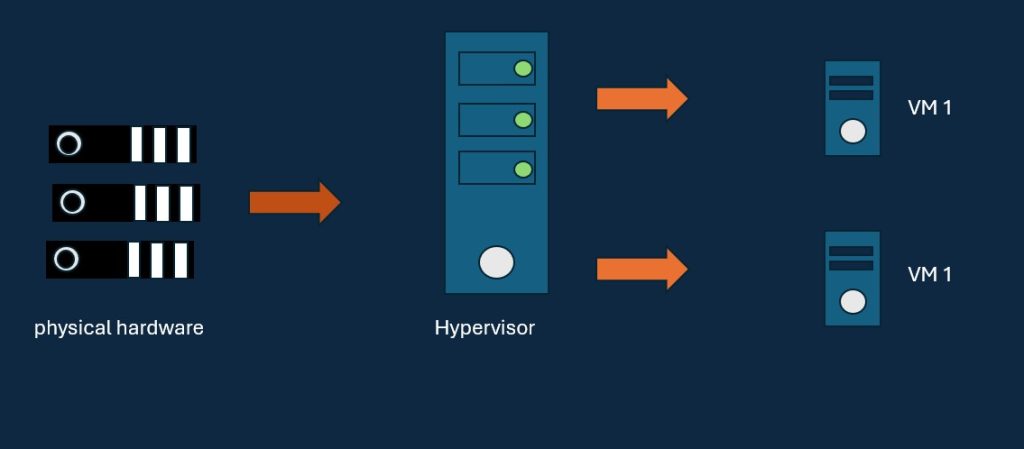
How exactly do you install VMs in your host machine? First you have to understand a certain type of software called a hypervisor. A hypervisor is the software that makes virtualization possible. It creates and manages VMs on your computer. Think of a traffic cop directing vehicles at an intersection, only a hypervisor is directing resources from the host machine to the VM. It [hypervisor] sits between your computer’s hardware and the VMs, making sure each one gets the resources it needs (CPU, memory, and storage) without stepping on each other’s toes.
There are two types of hypervisors:
To summarize what you just read:
Here is my one and only caveat to this process: whatever host machine you decide to use (laptop or desktop) you will need some basic hardware requirements. You have to keep in mind that you will be sharing the hardware from your host machine with the VM that you create. What you don’t want to do is allocate more than you can afford to spare. Afterall, your host machine still has to function while you’re using your VM. In my opinion, this is what you’ll need at a minimum:
Again, those are just suggested minimum requirements. I would recommend more of each. At the end of the article, I will post some links and resources to help you with upgrading your host machine.
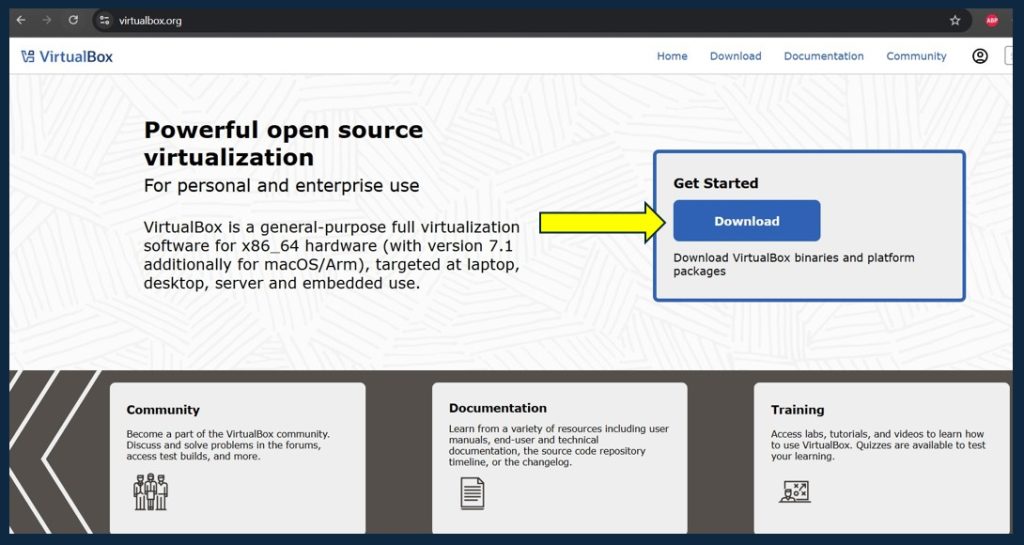
STEP 1: Navigate to the VirtualBox website and select the Download link : https://www.virtualbox.org/
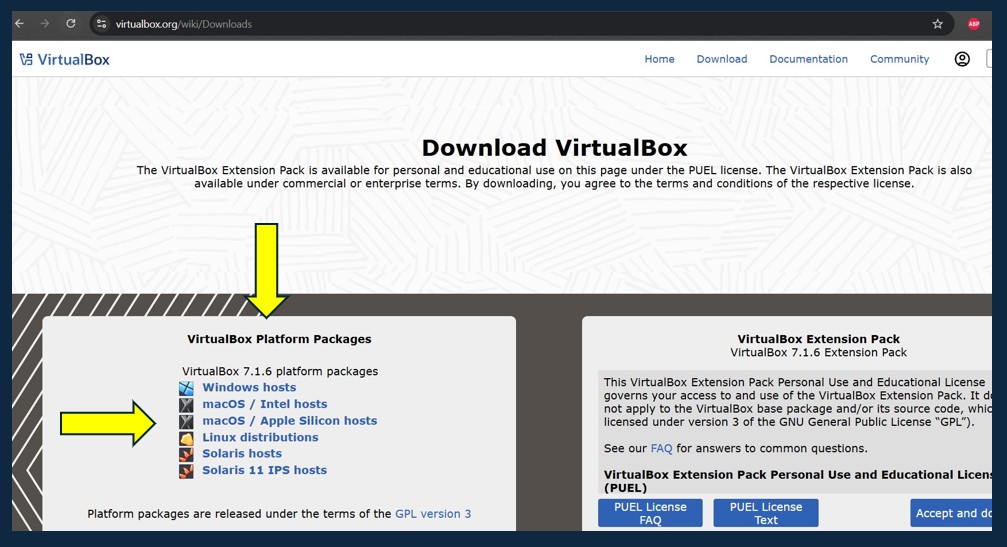
STEP 2: In the Download VirtualBox page, you will select the platform package that matches your host machine OS. If your host machine is running Windows, select “Windows hosts”. If your host machine is running macOS, select “macOS / Intel hosts”. So on, and so forth: https://www.virtualbox.org/wiki/Downloads
Once the executable file is downloaded, we are going to check for a specific redistributable in our host machine. Like I mentioned earlier, I won’t get too technical. The following isn’t something you necessarily need to know. Just some free nuggets: VirtualBox is written in C and C++ , and when developers build applications in these languages, they often use Microsoft’s Visual C++ compiler. This compiler relies on certain shared runtime libraries. Those libraries come bundles in what’s called the Microsoft Visual C++ Redistributable—and that’s what we’re going to check for. Otherwise, VirtualBox won’t load.
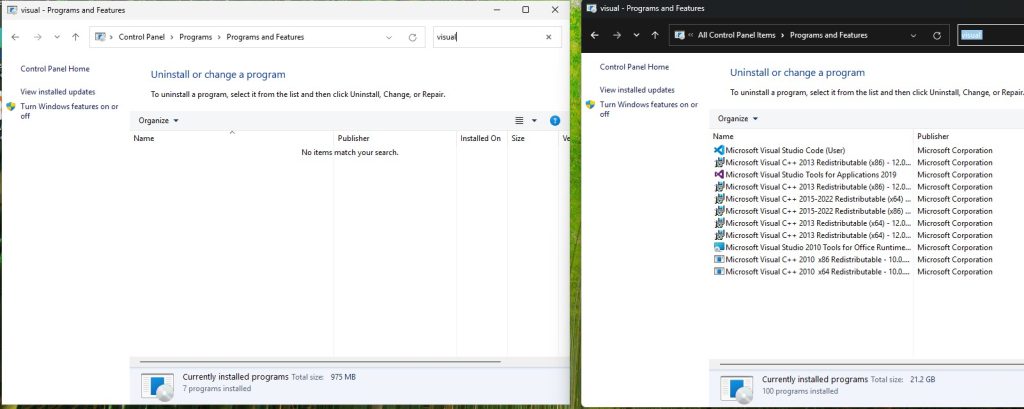
STEP 3: In your host machine’s Search box type: Control Panel and open it. Your control panel might look like one of these two images:
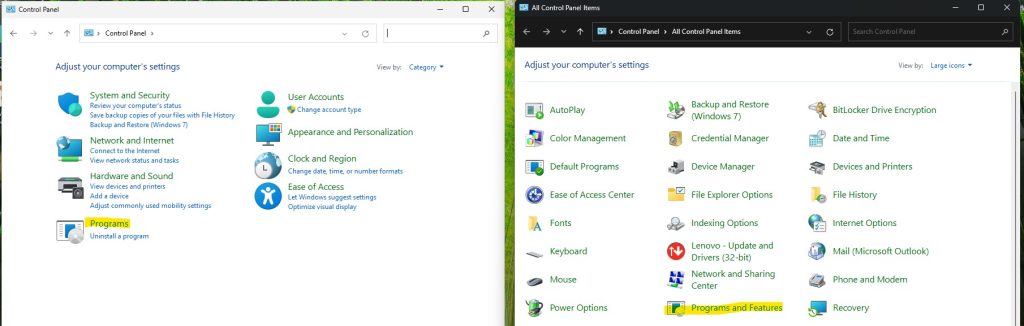
STEP 4: If your control panel looks like the interface on the left, click on Programs and then click on Programs and Features. If your interface looks like the one on the right, just click on Programs and Features
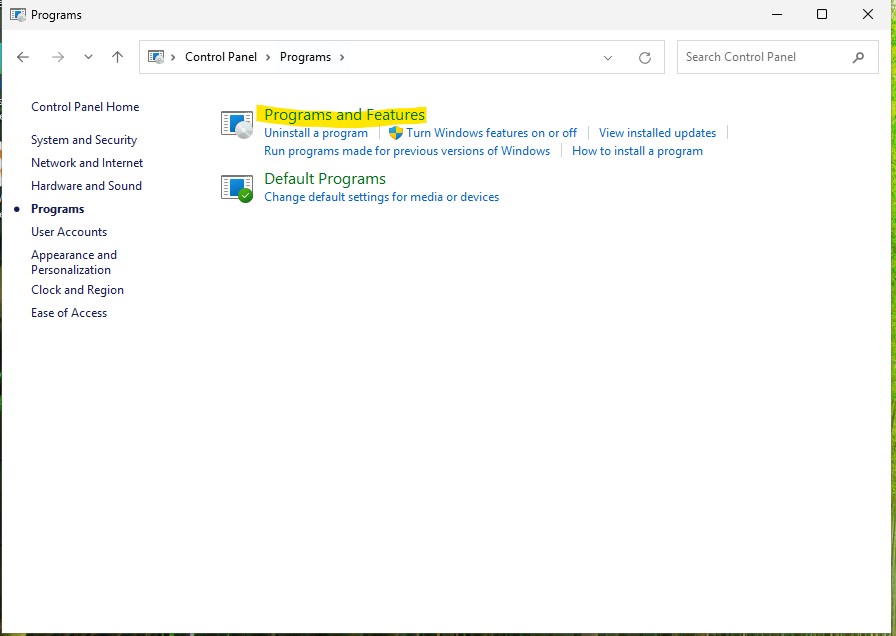
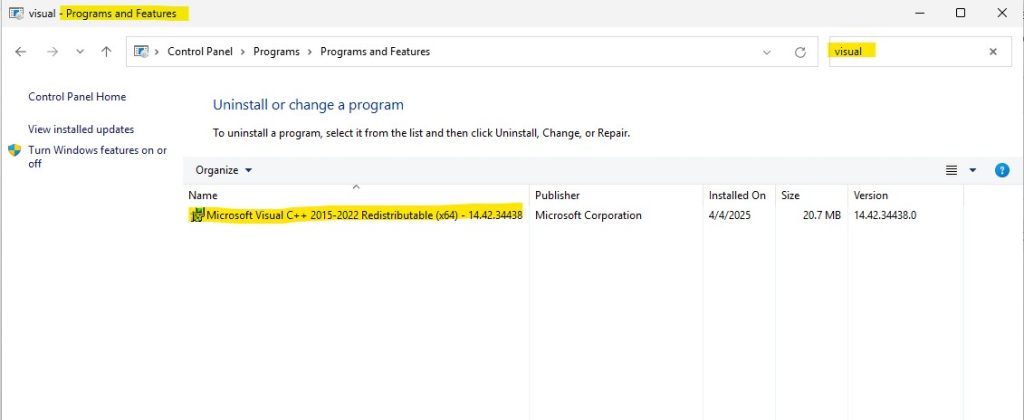
Once you’re in Programs and Features, in the Search box type: Visual
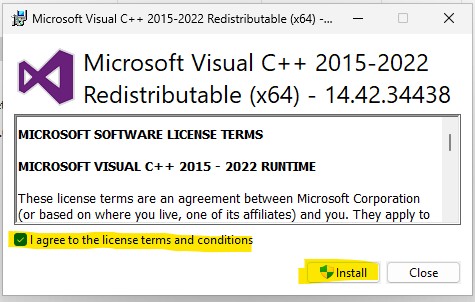
If your interface shows Microsoft Visual C++ 2015-2022, then you’re good to go. You can skip to STEP 9 otherwise, continue on with me.
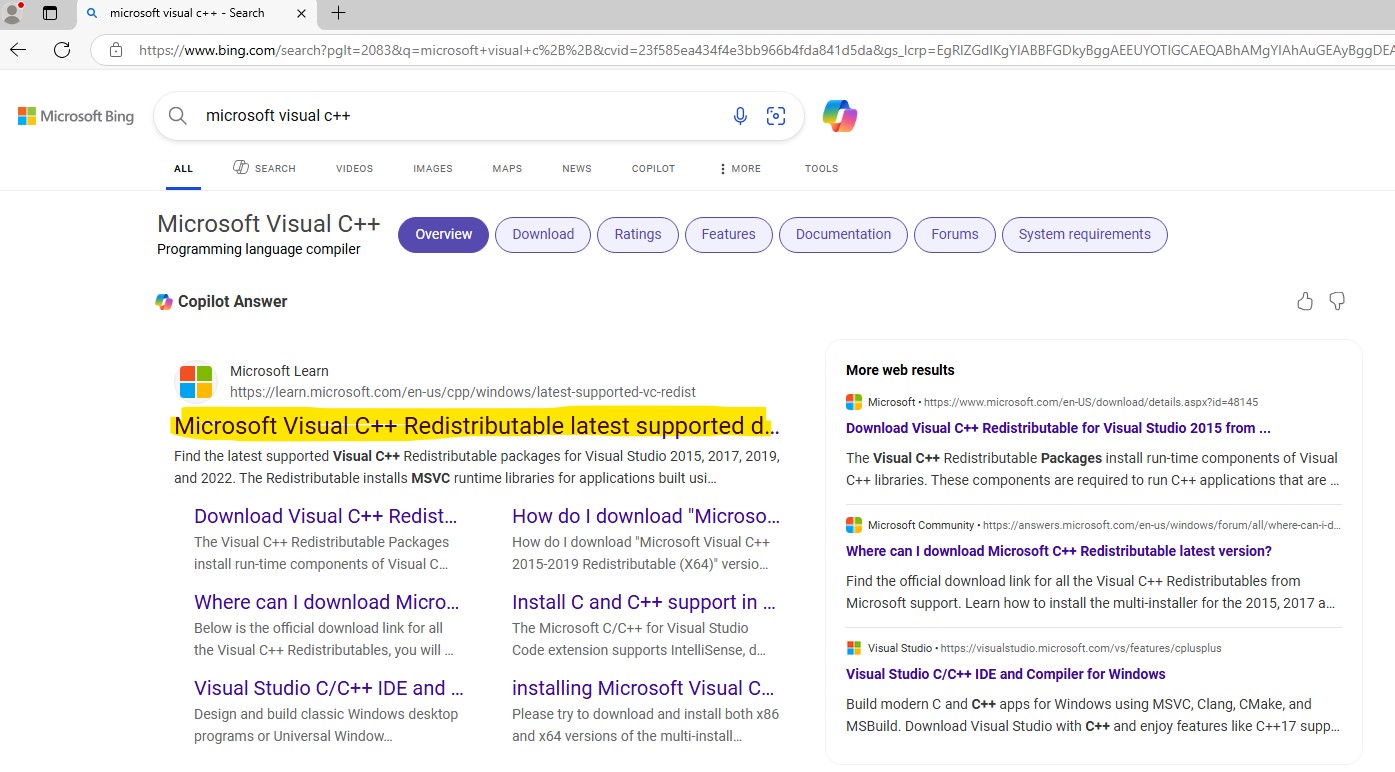
STEP 5: In your browser, type: Microsoft Visual C++
Select the link that is displayed below.
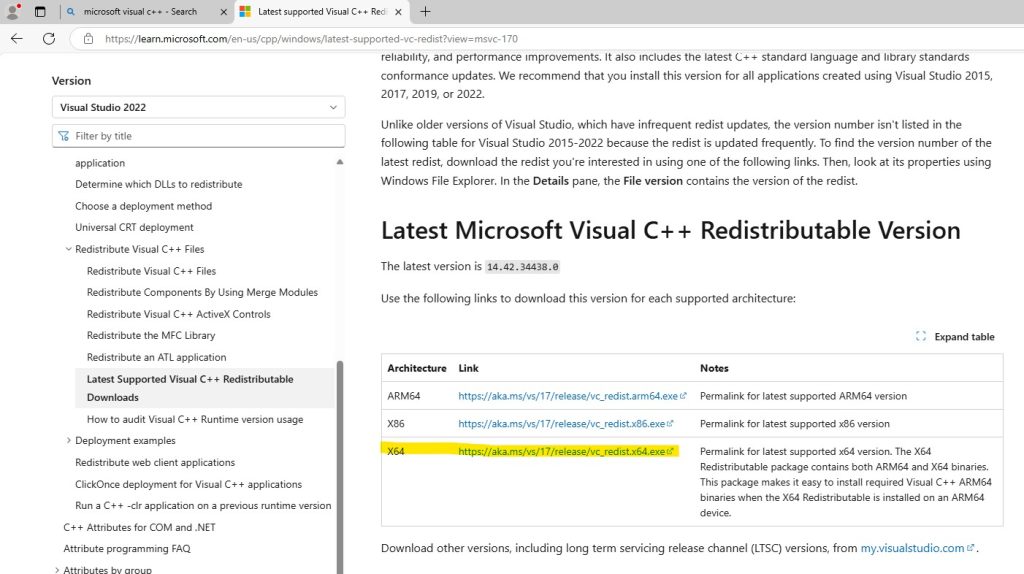
STEP 6: Scroll down and select: X64 link
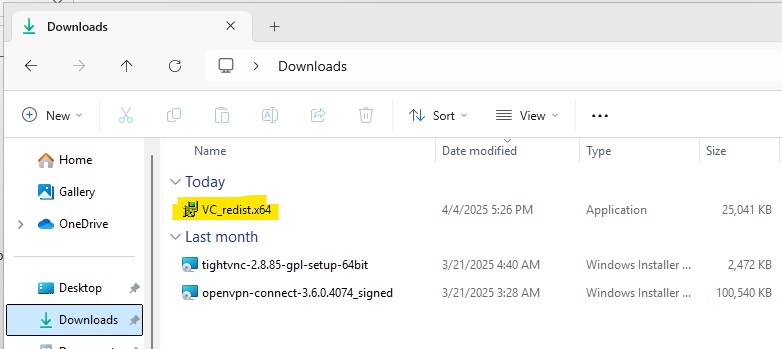
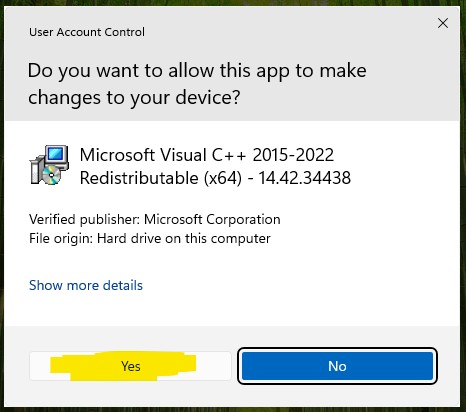
STEP 7: Once the file is downloaded, open it and it will launch the installation wizard
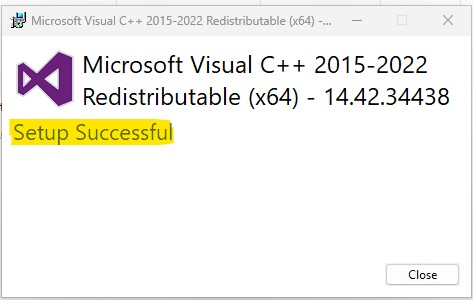
STEP 8: To verify it properly installed, head back to Control Panel > Programs and Features > Search Visual
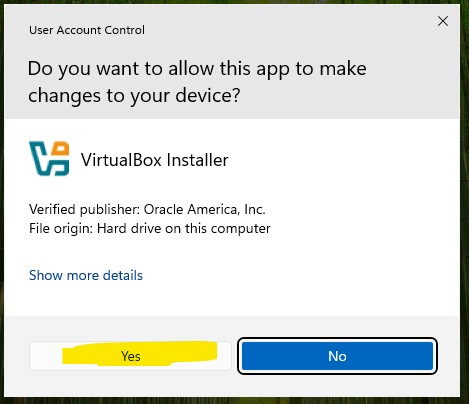
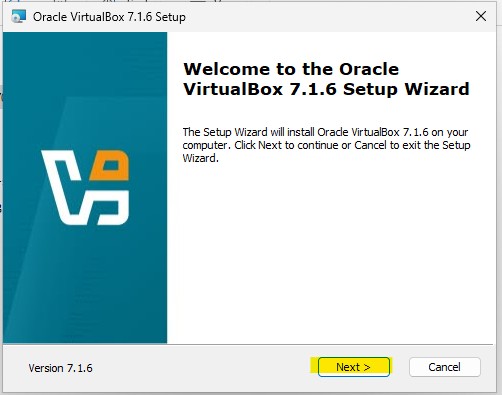
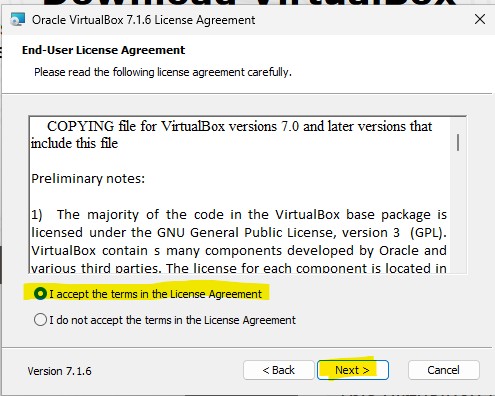
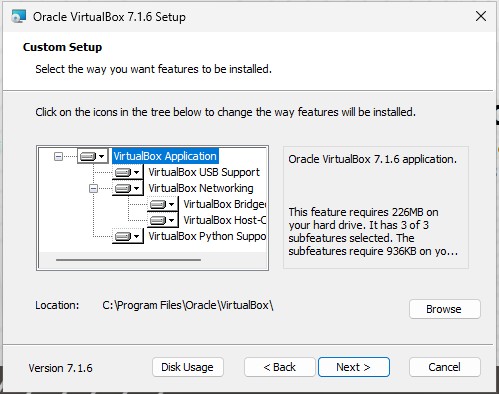
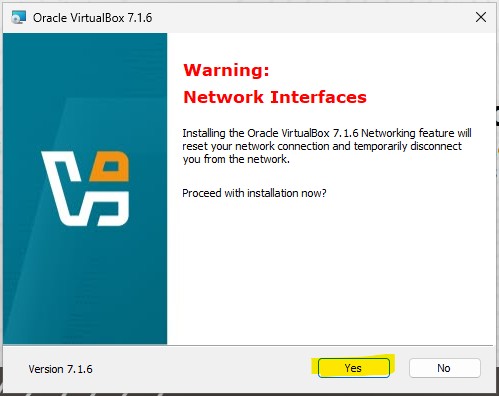
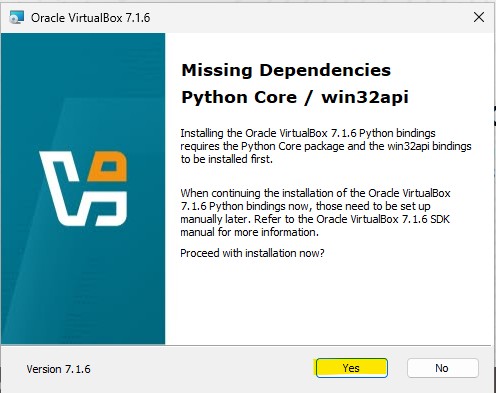
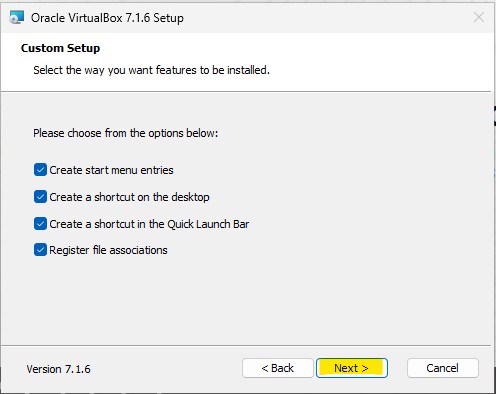
STEP 9: Go to your downloads and double-click on the VirtualBox file. Once the installation wizard opens, we’re going to keep all the defaults.

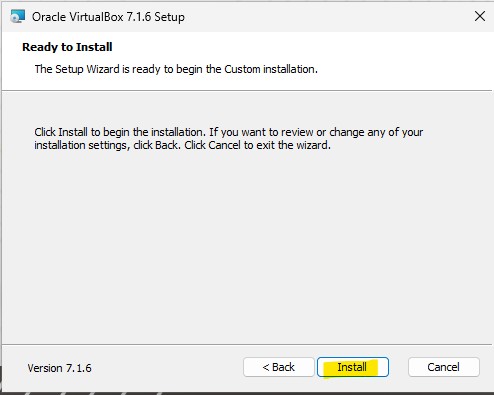
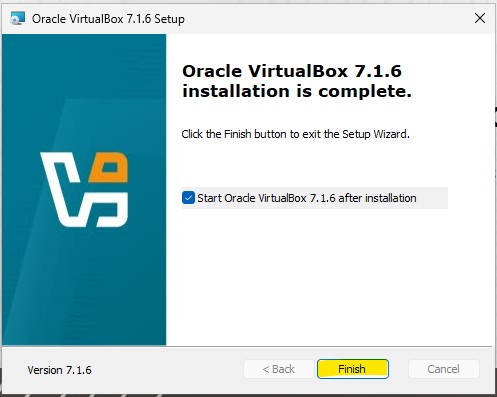
BOOM! There it is!
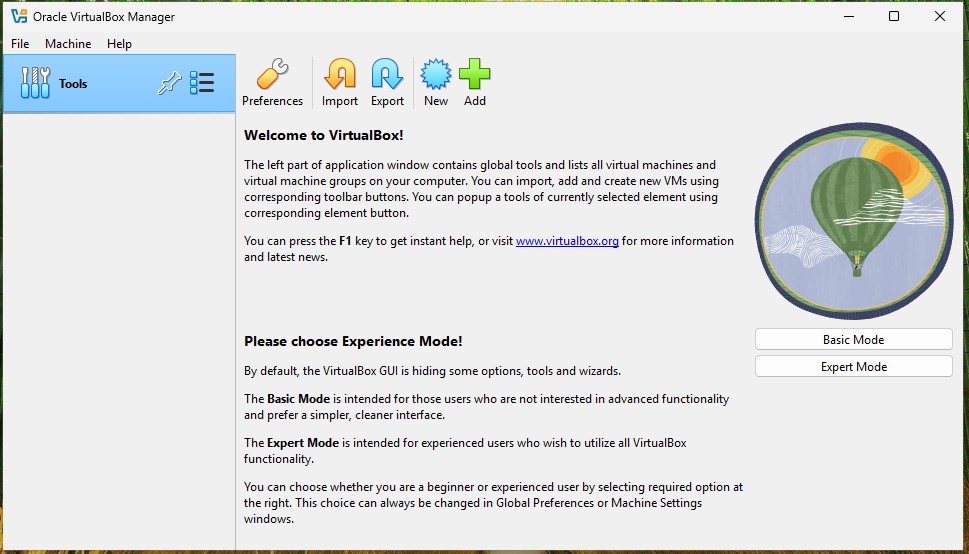
You have now successfully installed your first Type-2 hypervisor. Congratulations, but we’re only halfway there. Next, we will begin the steps to download, install, and launch Windows11 ISO file (also known as ISO image).
What is an ISO image? an ISO image is a single file that contains the complete contents of a CD, DVD< or Blue-ray disc—including the file system, folders, and all the data, exactly as it would appear on the actual dis. Think of it like a digital clone of a physical disc.
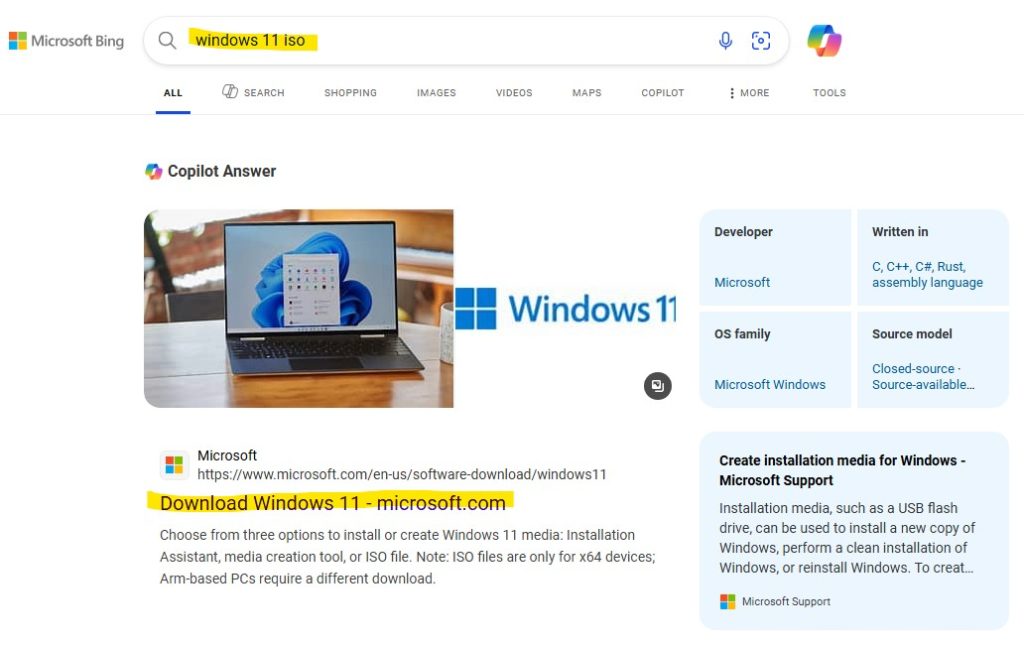
STEP 10: In your browser, search for: “Windows 11 iso” (you don’t have to type the quotation marks) and then click on the link that I’ve highlighted.
You should now be here:

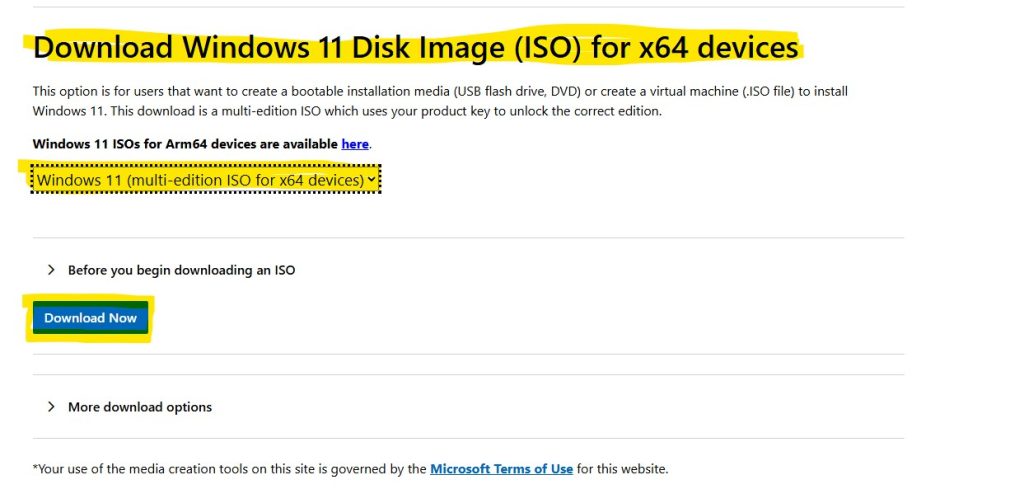
STEP 11: Scroll down to the section titled: Download Windows 11 Disk Image (ISO) for x64 devices
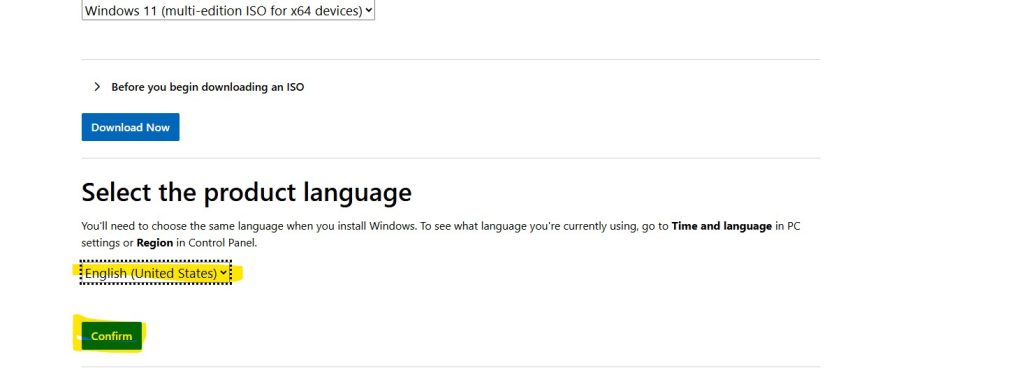
From the “Select Download” drop down box, select: Windows 11 (multi-edition ISO for x64 devices) and click on: Download Now
STEP 12: Select the product language and Confirm
STEP 13: Click the 64-bit Download button
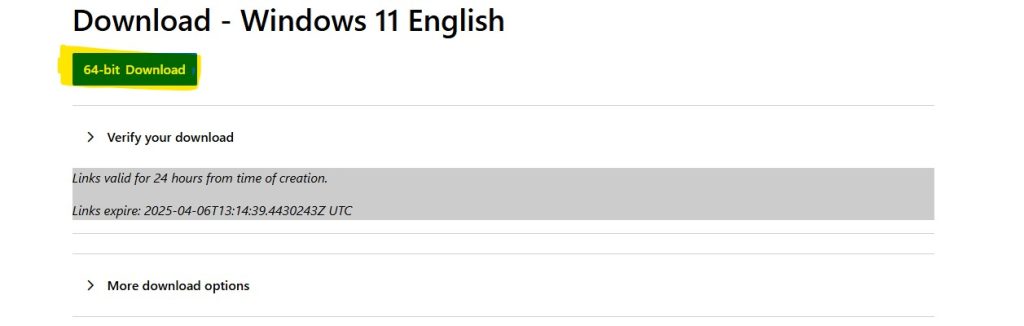
The download is about 5.4 GB. Your internet download speeds will determine how slow or fast it downloads. Give it a few minutes.
When the ISO finishes downloading, it will bein your Downloads folder. I like to keep all my ISO files in a separate folder categorized by OS. All my Windows ISOs in a Windows folder. All my Linux distros in a Linux folder. So on and so on.
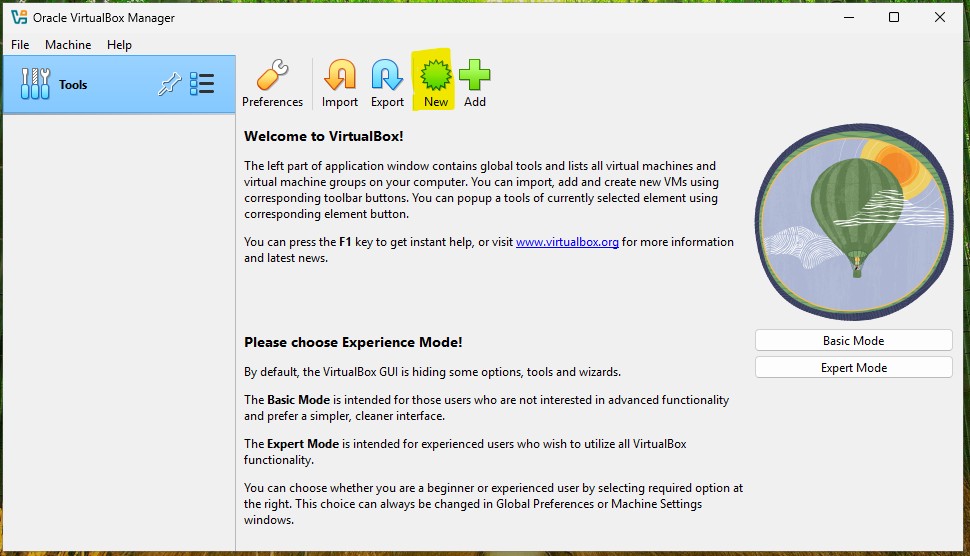
STEP 14: Your VirtualBox software should still be open. If it’s not, go ahead and open it.
Once it’s open, click on: New
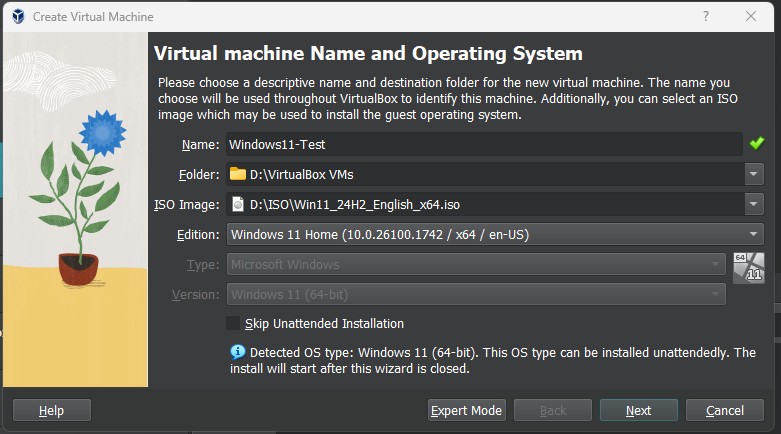
STEP 15: Virtual machine Name and Operating System
Name: [name the machine whatever you would like] I recommend something like: Windows11-Test
Folder: I keep this as default, but you can store your VMs wherever you would like
ISO Image: Here is where you will select the Windows 11 ISO that we downloaded. Unless you moved it from your Downloads folder, it should still be there.
Edition: This will automatically be selected to Windows 11 Home because of the ISO we selected, but you can select Windows 11 Pro. If you select the wrong one, and the VM opens up and all you see is a command line, then delete the VM and start over. For beginners, I highly suggest you pick Home. Do some research on which other Edition you might like and then create a new VM.
Type and Version will be automatically selected as well.
IMPORTANT: Make sure the “Skip Unattended Installation” is UNCHECKED. In other words, the box should be empty.
Once all of that is complete, select Next
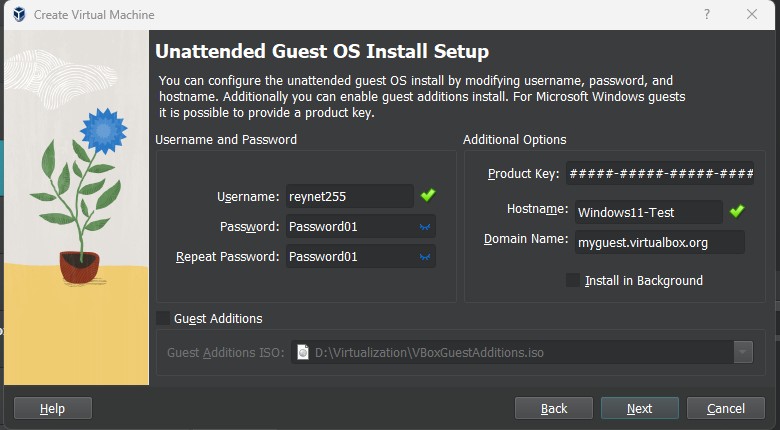
STEP 16: Unattended Guest OS Install Setup
Username: select whatever username you would like
Password: *For training purposes* keep the password simple. I use: Password01
Repeat Password: Make sure you use the same password
After that, click Next
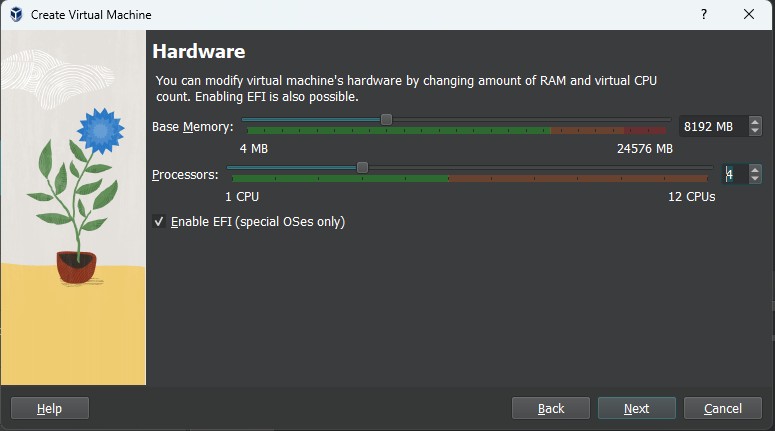
STEP 17: Hardware
This is a very important section. In this section we will select how much resources we are going to allocate to our VM. VirtualBox makes it easy by showing us how much we have and color codes it so we know how much we’re able to give. Green means you’re good to allocate. Red means, you can’t.
Remember, you don’t want to give so much that you bog down your host machine. Something else to keep in mind when looking at the base memory, VirtualBox uses megabytes instead of gigabytes. So here’s a scale:
You get it, right? I have 24 GB of memory (RAM) so I typically only give out 8 GB. For basic labs, you probably won’t need more than 4GBs.
Click Next, once you’re done allocating.
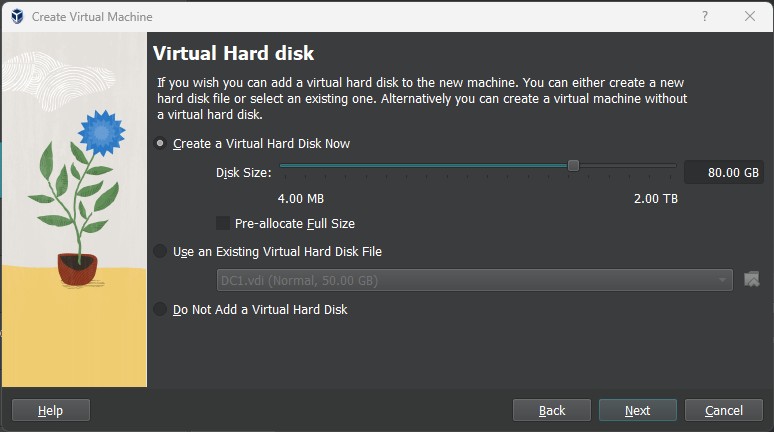
STEP 18: Virtual Hard disk
Here, we will select how much storage to give your machine. I keep mine with the default of 80.00 GB. Again, for basic usage, you won’t need much. You will need at a minimum 20 GB. However, by default, VirtualBox doesn’t use all of your storage. It uses it dynamically. Meaning that it only pulls the necessary amount AS NEEDED.
In order for VirtualBox to do that, make sure you don’t select: “Pre-allocate Full Size”
If you select “Pre-allocate Full Size” then VirtualBox will give all the storage amount that you selected, to the VM.
Once done, click Next
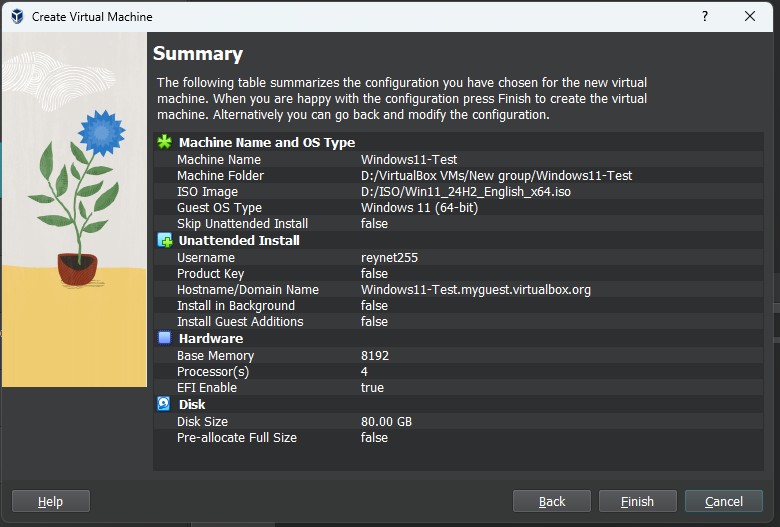
STEP 19: Summary
In this section, you will just verify everything we just setup and select Finish.
STEP 20: Once you select Finish, VirtualBox might try to launch the VM automatically. What I’ll need you to do is close the VM and select Power off the machine and click OK

STEP 21: Modify Settings
In your Oracle VM VirtualBox Manager, with your VM selected, on the right side of the interface you can select the big Gear icon that reads Settings. You can also right-click your VM and select Settings

STEP 22: In the General settings tab click on the Advanced tab on the right panel.
In Shared Clipboard and Drag’n’Drop, select Biderectional. This will allow you to copy and paste between the host machine and the VM.

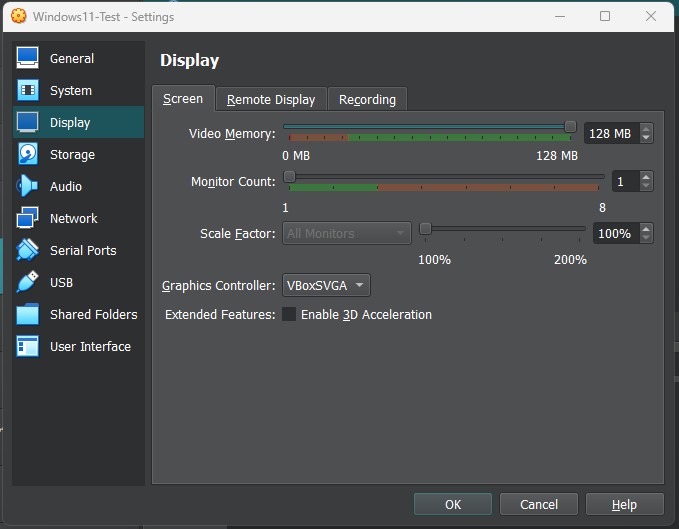
STEP 23: Next, go to the Display tab on the left and make sure you’re in the Screen tab on the right.
Once there, make sure Video Memory is all the way to the right. In other words, max out the video memory.
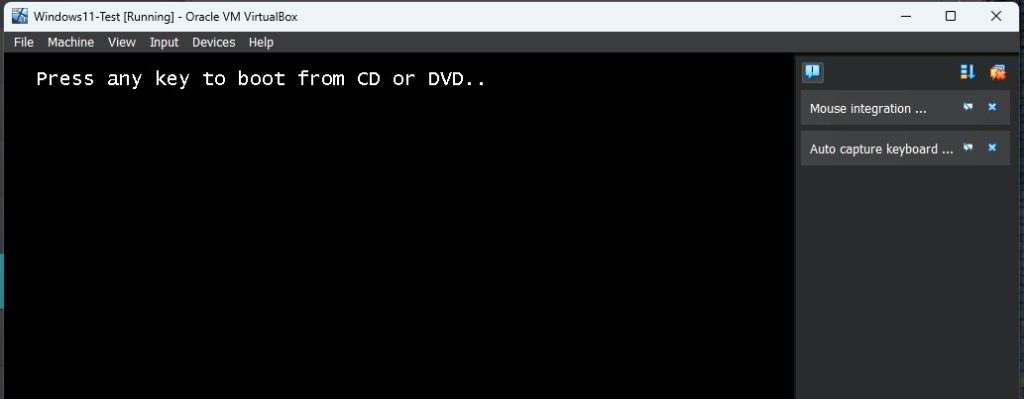
STEP 23: Click OK and then double-click your VM to launch it.
As soon as it launches, you will see a message that reads: Press any key to boot from CD or DVD
Just press any key like the enter key, or the space bar
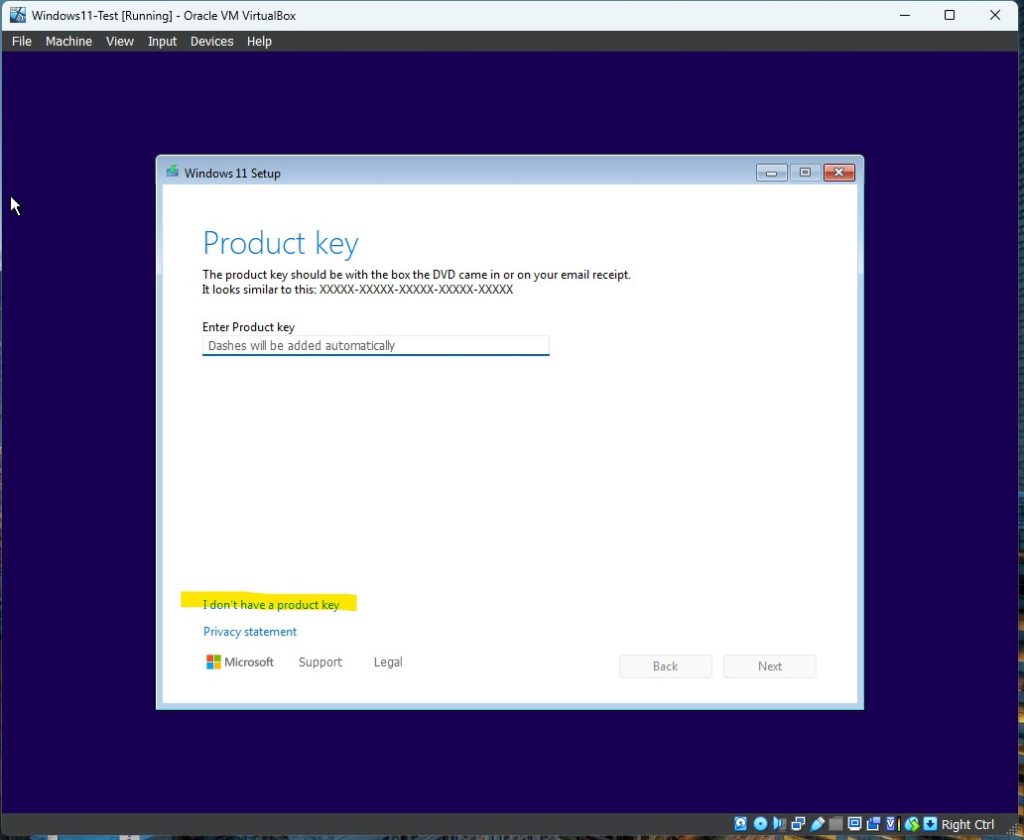
STEP 24: Windows 11 Setup
You should now see the Windows 11 Setup window open up and be prompted for a Product key. Select: I don’t have a product key at the bottom of the window.
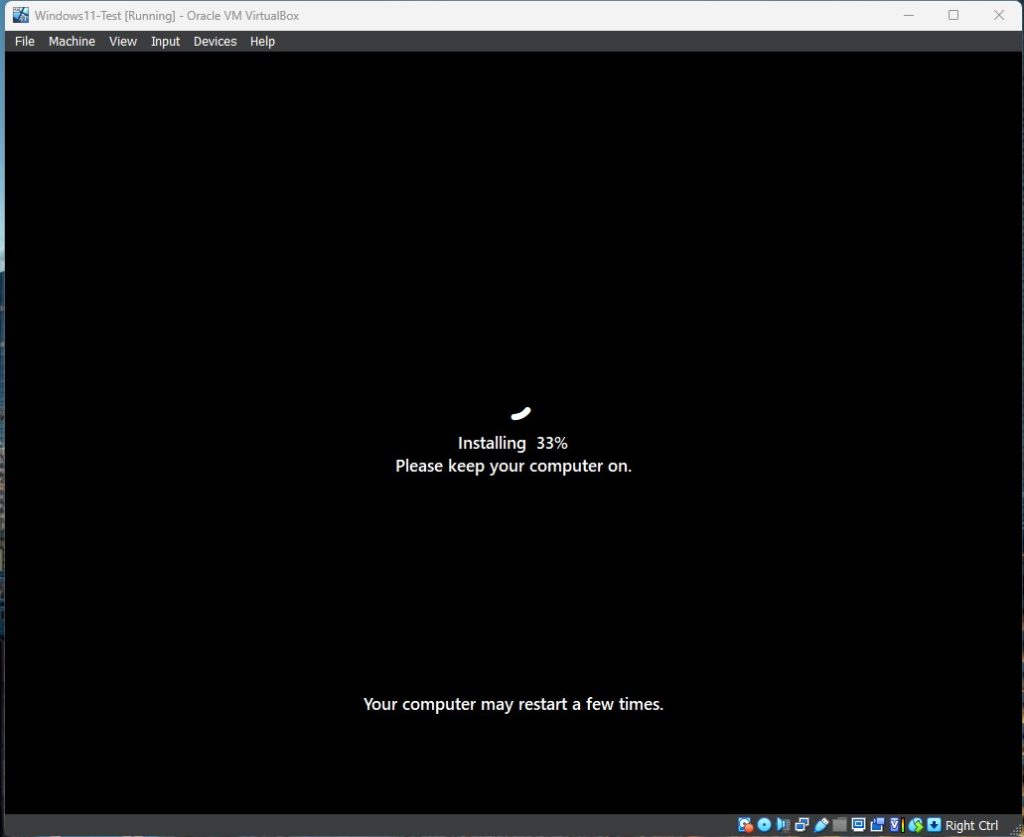
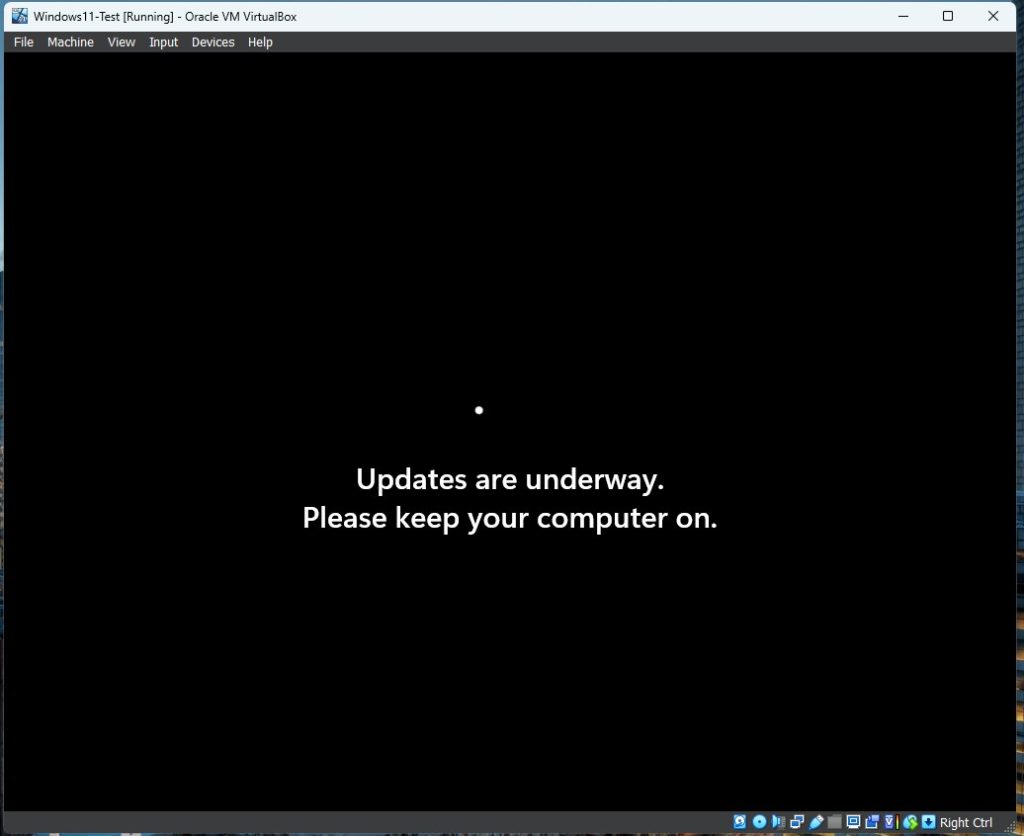
STEP 24: Your VM will restart a few times. That’s normal. Just be patient.

Your installation should be complete. You will notice that even if you maximize your window, the display stays the same. Let’s fix that.
STEP 25: In the top of the VirtualBox window, select Devices > Insert Guest Addiditons CD image…
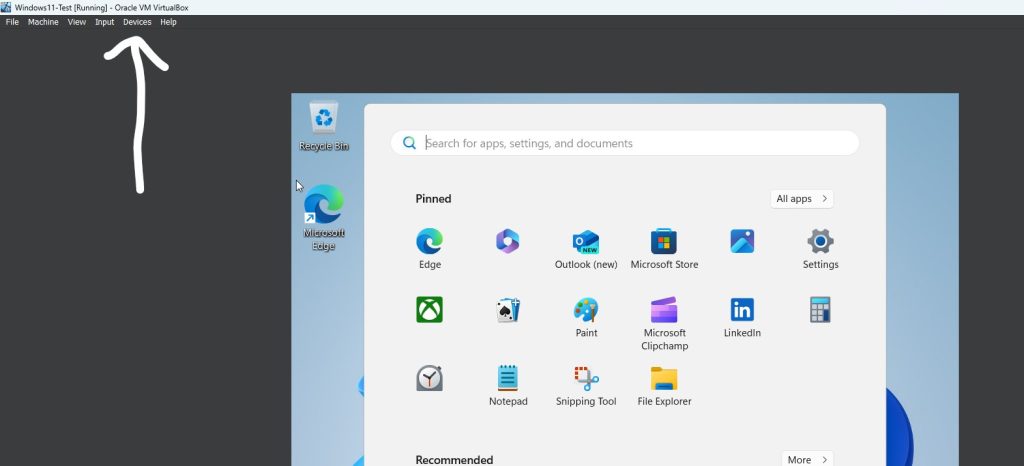
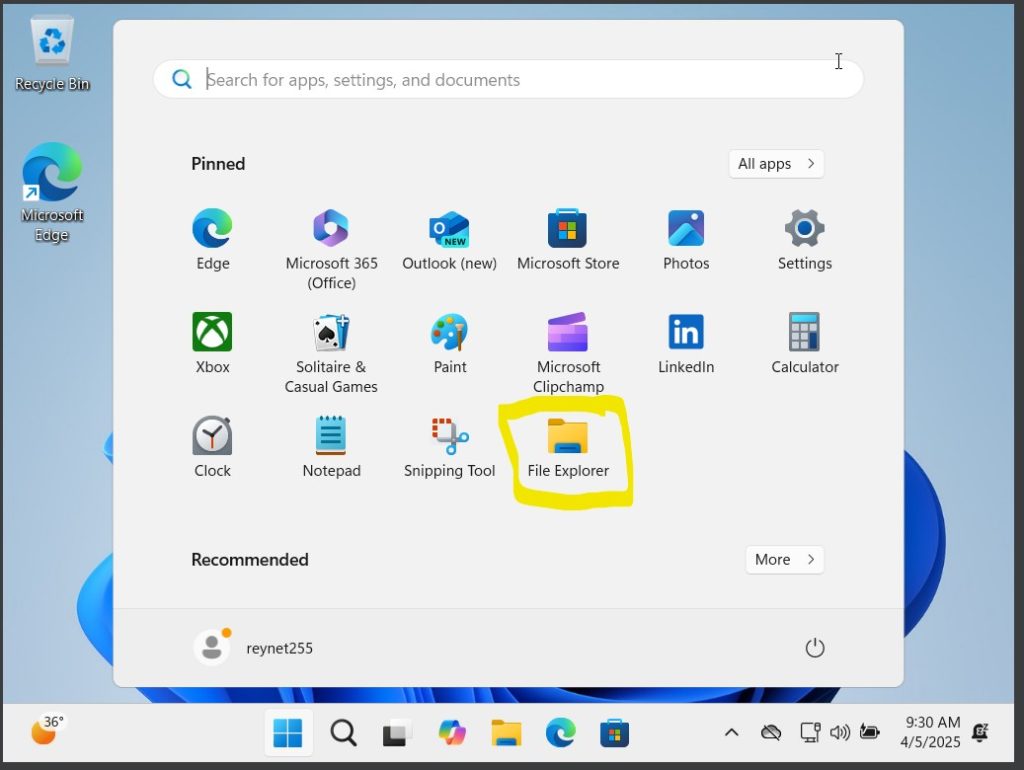
STEP 26: After you select: Insert Guest Additions CD image, open the File Explorer (the Folder that reads File Explorer)
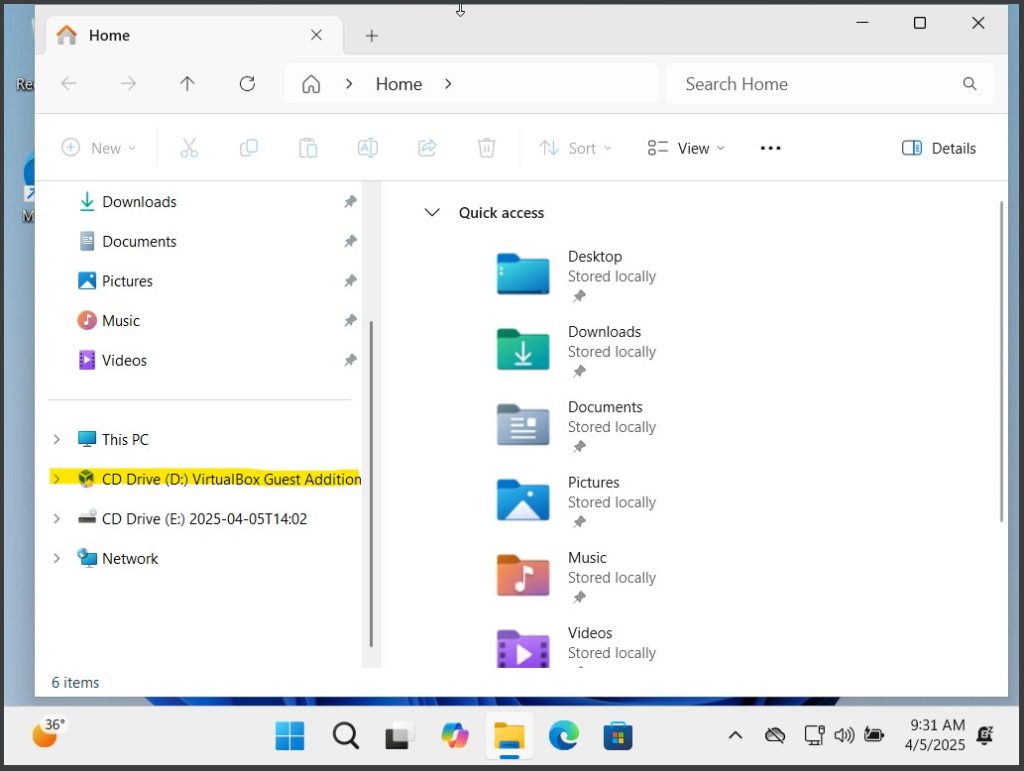
On the left pane, scroll down until you see the VirtualBox logo CD Drive (D:) VirtualBox Guest Additions and click on it
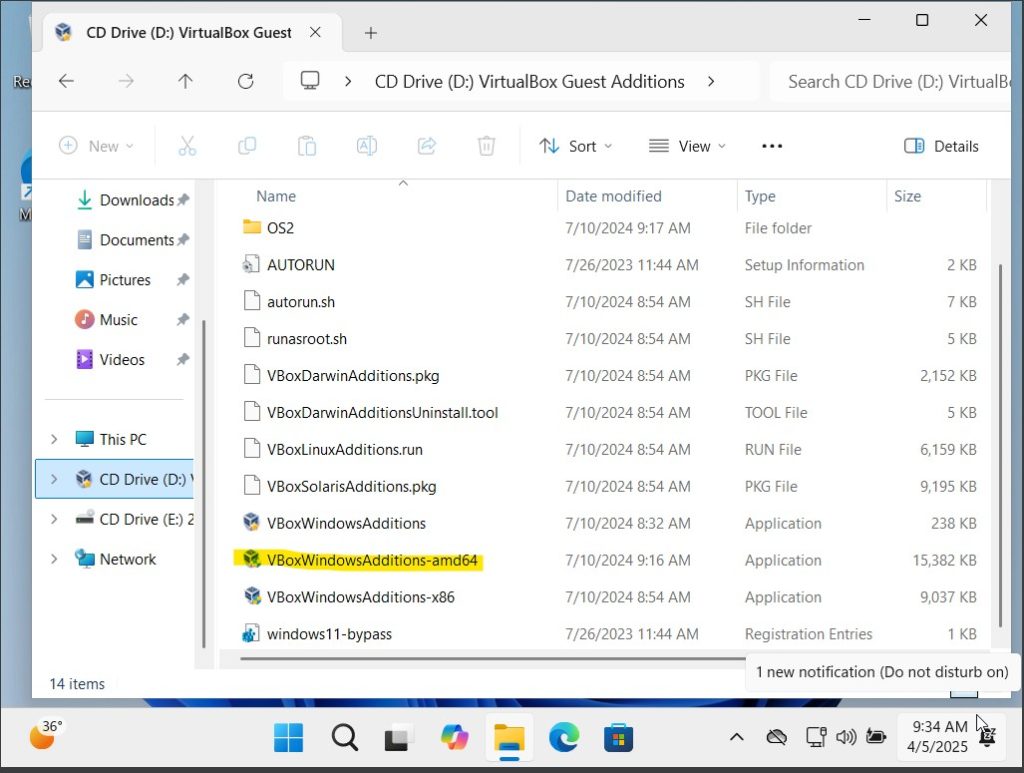
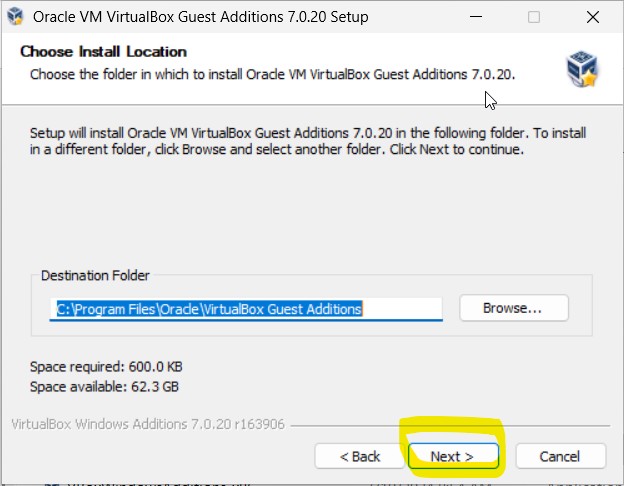
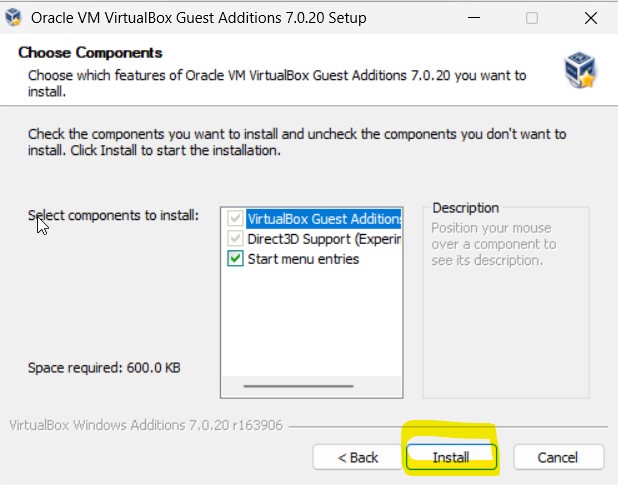
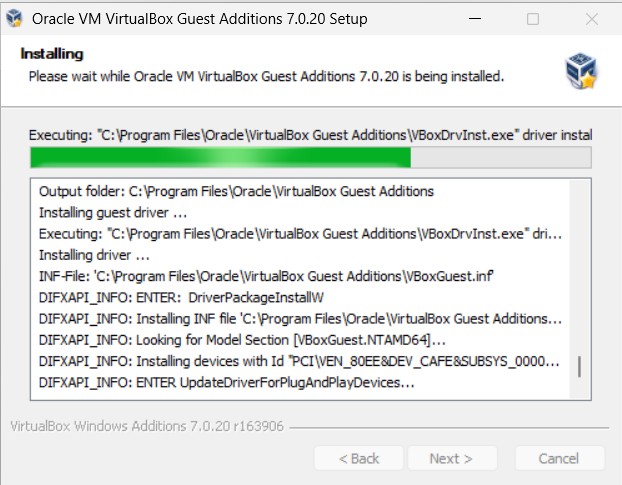
STEP 27: Scroll down and double-click VBoxWindowsAdditions-amd64
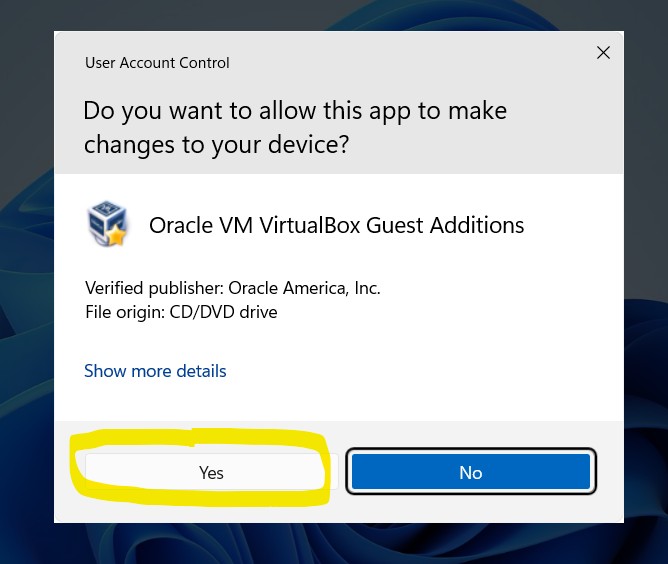
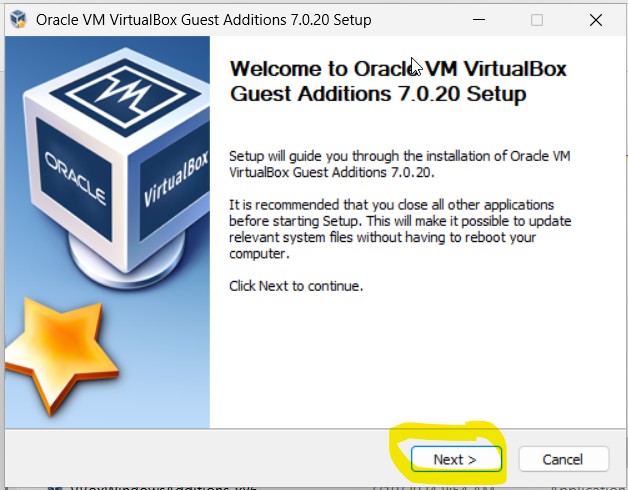
STEP 28: You will now run through the installation wizard, selecting all the defaults, and wait for your machine to restart.
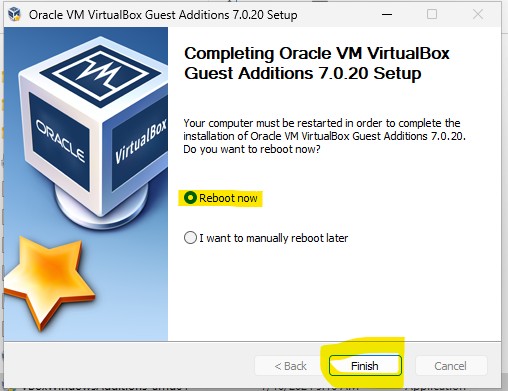
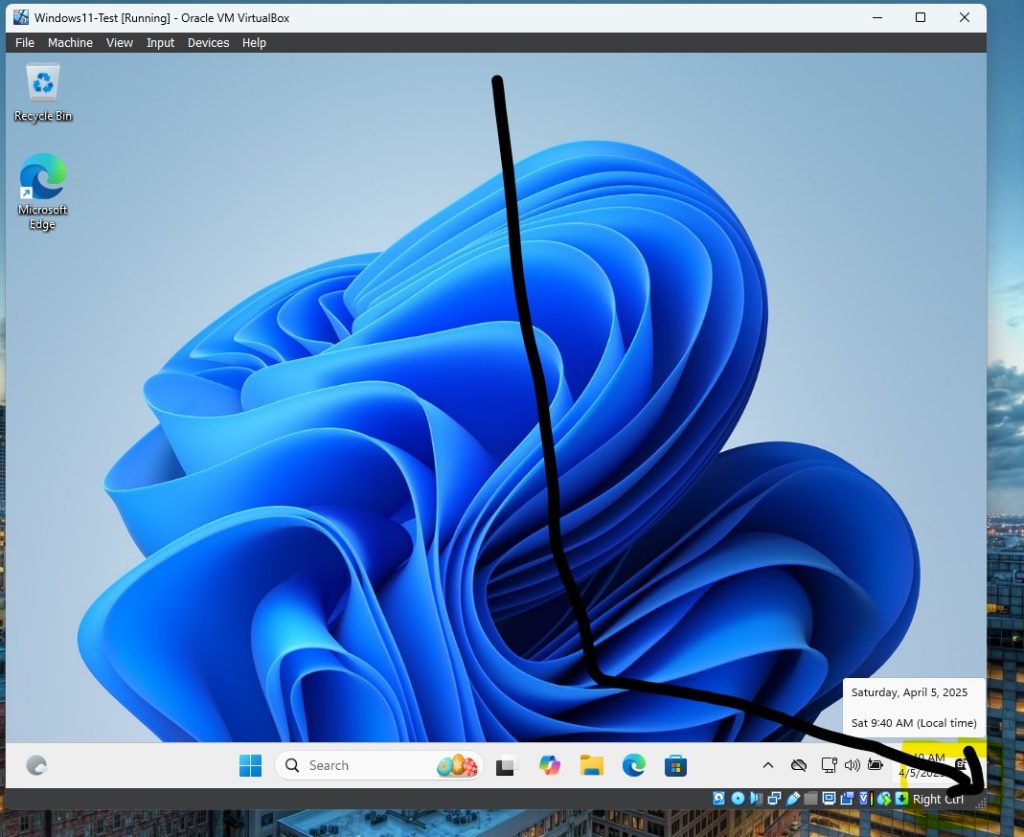
After your VM restarts, you’ll have to grab and hold the bottom right corner of the VirtualBox interface (you know it’s the corner because you’ll see abunch of dots in the corner) and slowly start bringing it in and out. The display will start to look distortated, but if you let go, the image will stabilize and adjust to whatever size you selected.
And that, ladies and gentleme, is your first Virtual Machine. Feel free to explore, break it, or do whatever you want with it because all you have to do is build a new one. Now, in a later blog (unless you want to do the research now) I will show how to make snapshots from your VM Manager so you don’t have to start completely fresh.
This is your foundation. Build upon however you want. Feel free, and I strongly encourage you to, look up videos on YouTube on how to install Linux distros. Look up what kind of labs to create with Windows. Eventually we’ll get into installing Windows server and adding some machines to it in order to create an Active Directory home lab.
If you have any issues, please do not hesitate to reach out to me via social media.
Go out, have fun with your new VM, and as always: Lab Responsibly.